I don’t even know what a skill saw is, so I’m no pro either. But I do have some experience with plywood and it’s really prone to warping. Do you have a plan for dealing with that? MDF (medium density fiberboard) is more expensive but generally doesn’t warp. If you can get hold of some of that it might work better.
Well, the reason I went with plywood is a few years ago the deacon at my church used to have a business making shipping crates, before he passed away, and he gave my in-laws a whole bunch of scrap plywwod…like 6 or 7 pallets worth in stacks about 7ft high…so there was more than plenty just lying around.
1 Like
Yeah, you can’t beat free.
I might look up “how to keep plywood from warping” to see if you can treat it somehow before you finalize the board.
1 Like
Minor Update:
I spent a good deal of time taking a rotary sander to the boards yesterday. Now my arm is sore, but the boards are just really smooth now, so I’m pretty satisfied. I would show pictures, but to be honest they don’t look any different…maybe a bit lighter on the dark parts.
I also got an acrylic sheet that I’m going to use on both the new board and the existing one. I really like how my 1up Arcade MK cabinet has acrylic to protect the artwork, so I decided to do the same to the others, especially since my cat has been making a habit of getting up on the cabinet and laying behind the controls…he’s put several nicks in the vinyl that, while not visible, you can really feel when you put your hand on it. Fortunately when I ordered the artwork they sent a couple of extras, so I’ll have a clean cover under the acrylic when I’m done.
Oh, and I did look up how to protect plywood, but without much luck. Apparently most people are only worried about how to store it in the industrial sense, so all I could find is A: don’t get it wet, and B: if it does get wet and it starts bowing, turn it to where the bow is facing up and it’ll straighten itself back out when it dries. Not extremely helpful. ![]()
1 Like
Are you planning to mount your buttons over top of the acrylic or is the acrylic going to rest around the button? I think most arcade layouts go the former route but the KI arcade stick went the latter. It made changing out the art more convenient because you didn’t have to remove the buttons but it also lets the plexus sometimes ride up and flex which makes the buttons feel weird.
1 Like
For the X-arcade board, I think I’m going to have it under the buttons. I’m going to have to do the same for replacing the artwork anyway. Ideally, the artwork is designed to be applied over the buttons and everything, but the first time I tried that I noticed the machine they use to but the button holes gets off a bit here and there leaving bubbles if applied that way, so I just put it down under the buttons.
I haven’t decided on the new board yet, though I’ll likely do the same with it, since It’ll be easier to get everything lined up right when I drill the button and joystick holes.
1 Like
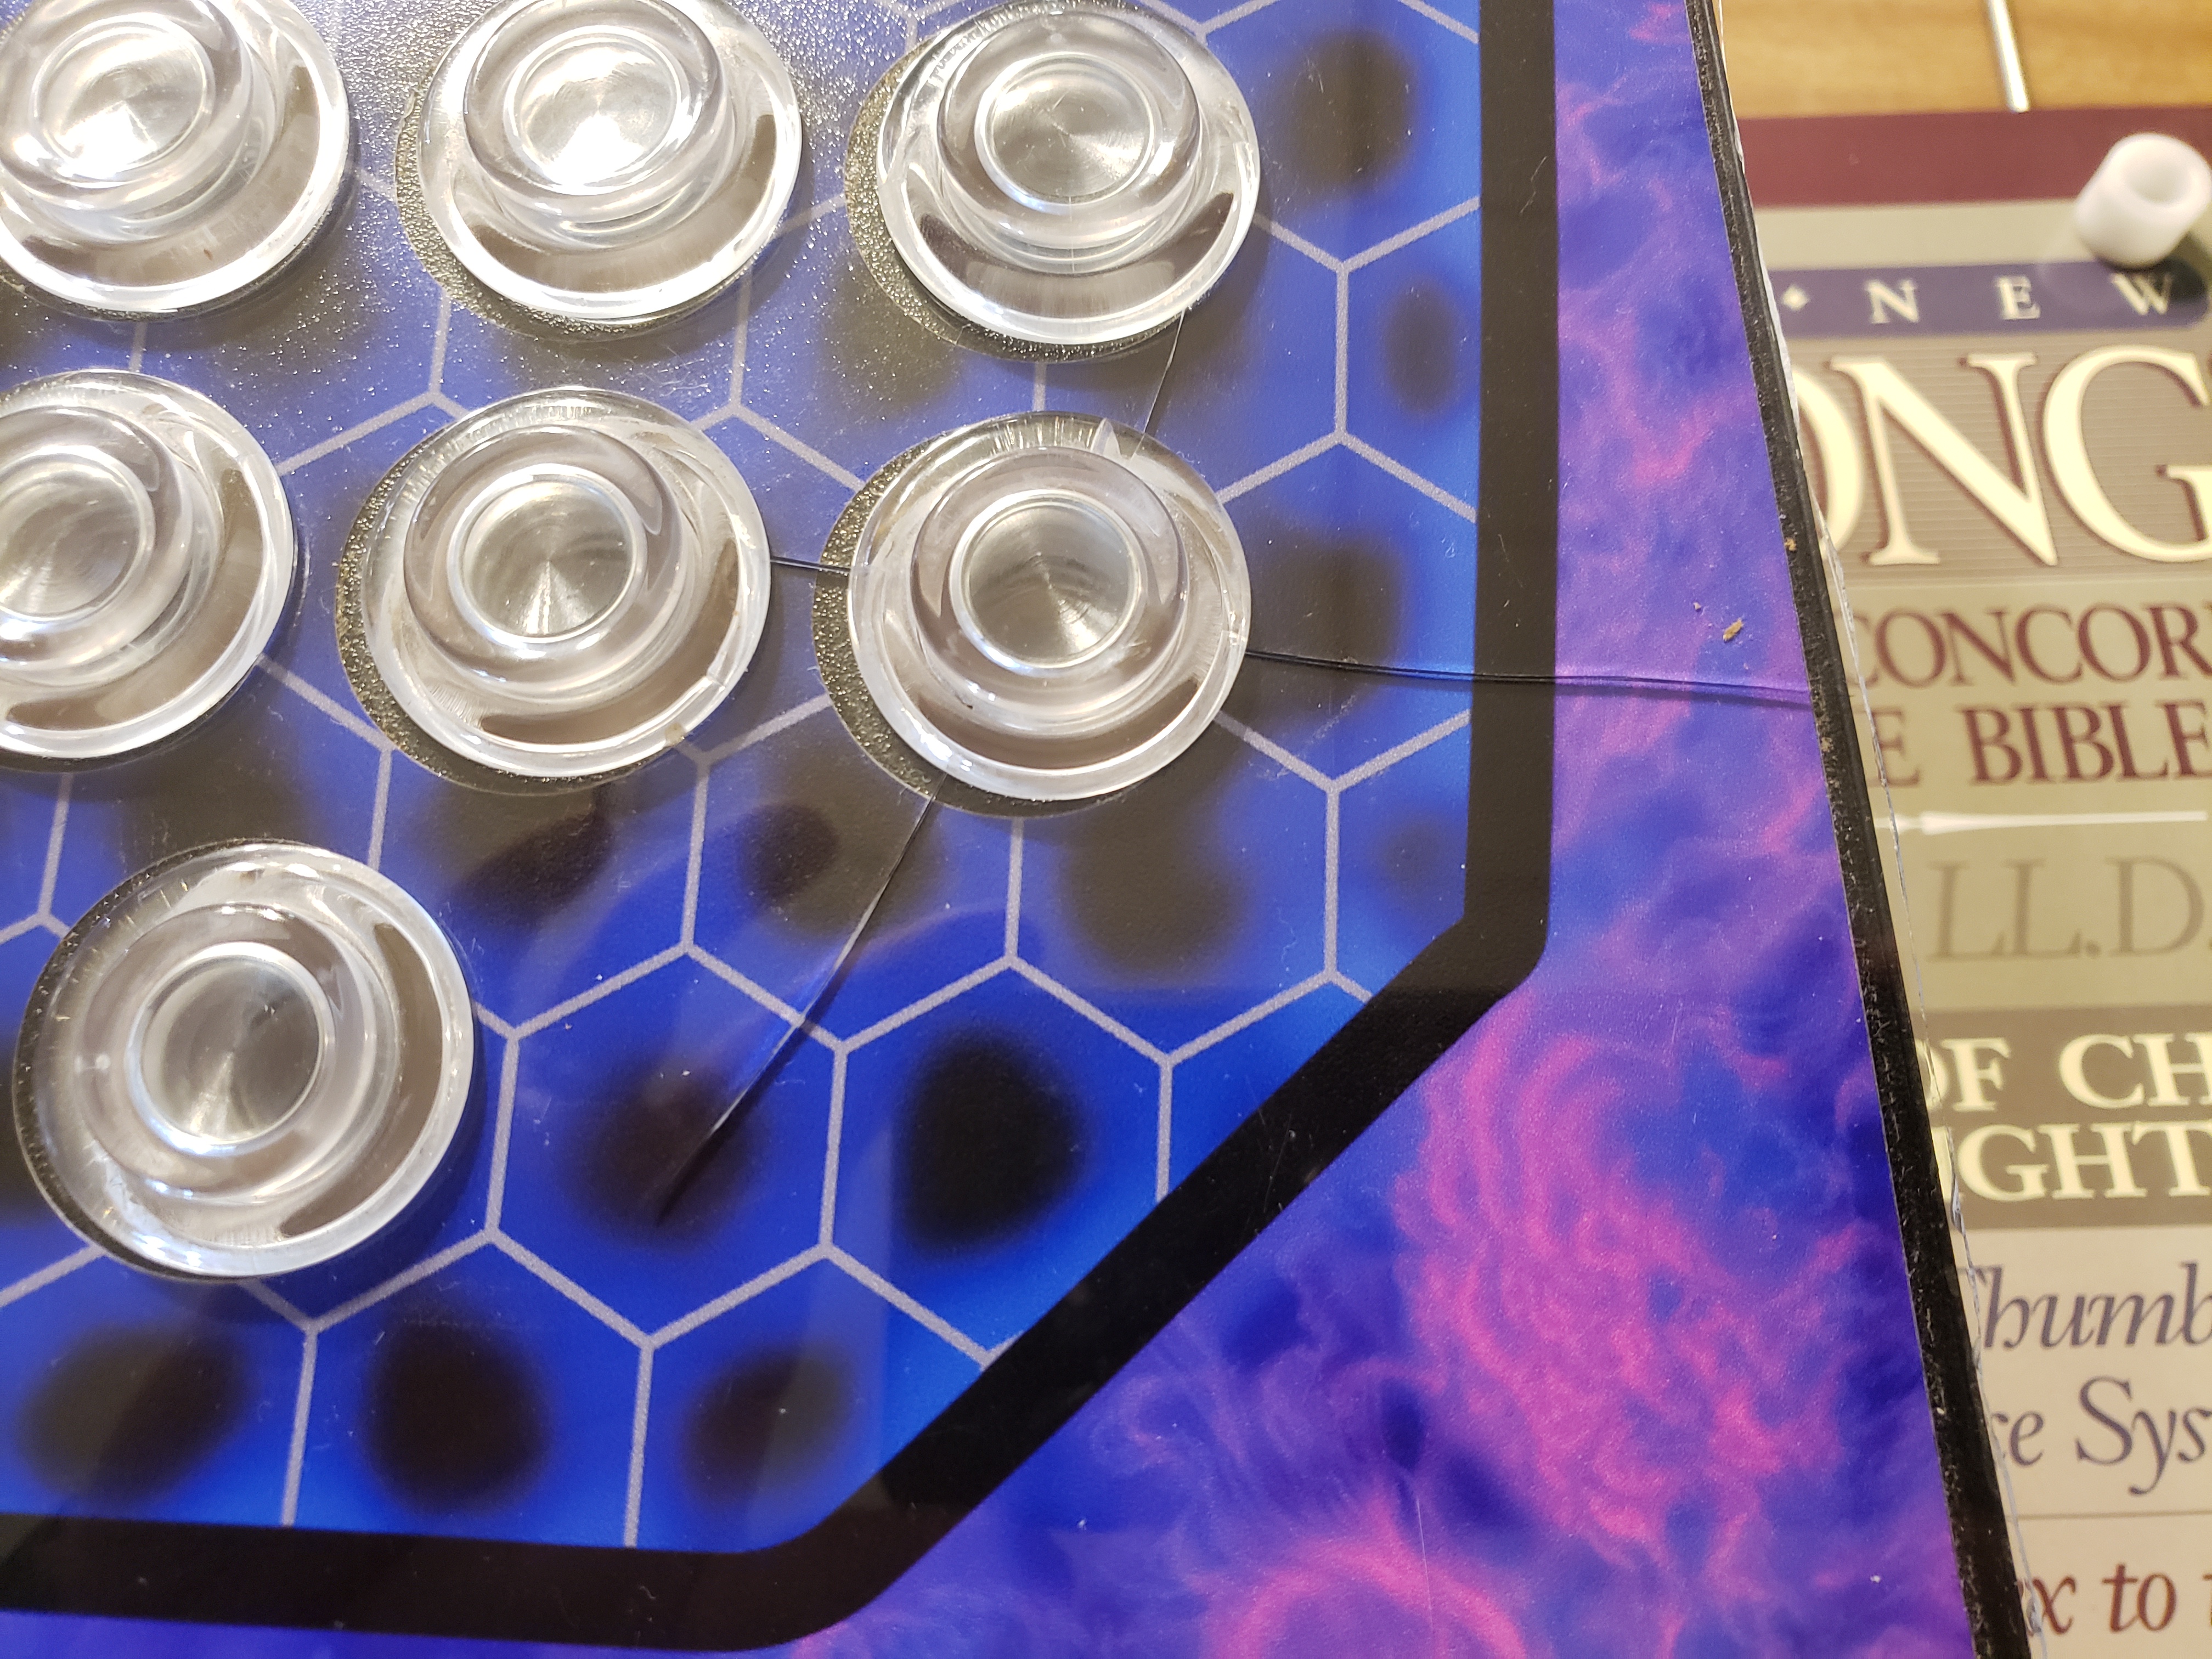
Man… I was just about done with the outer edges of the acrylic, and a sliver snapped off of one of the corners. ![]()
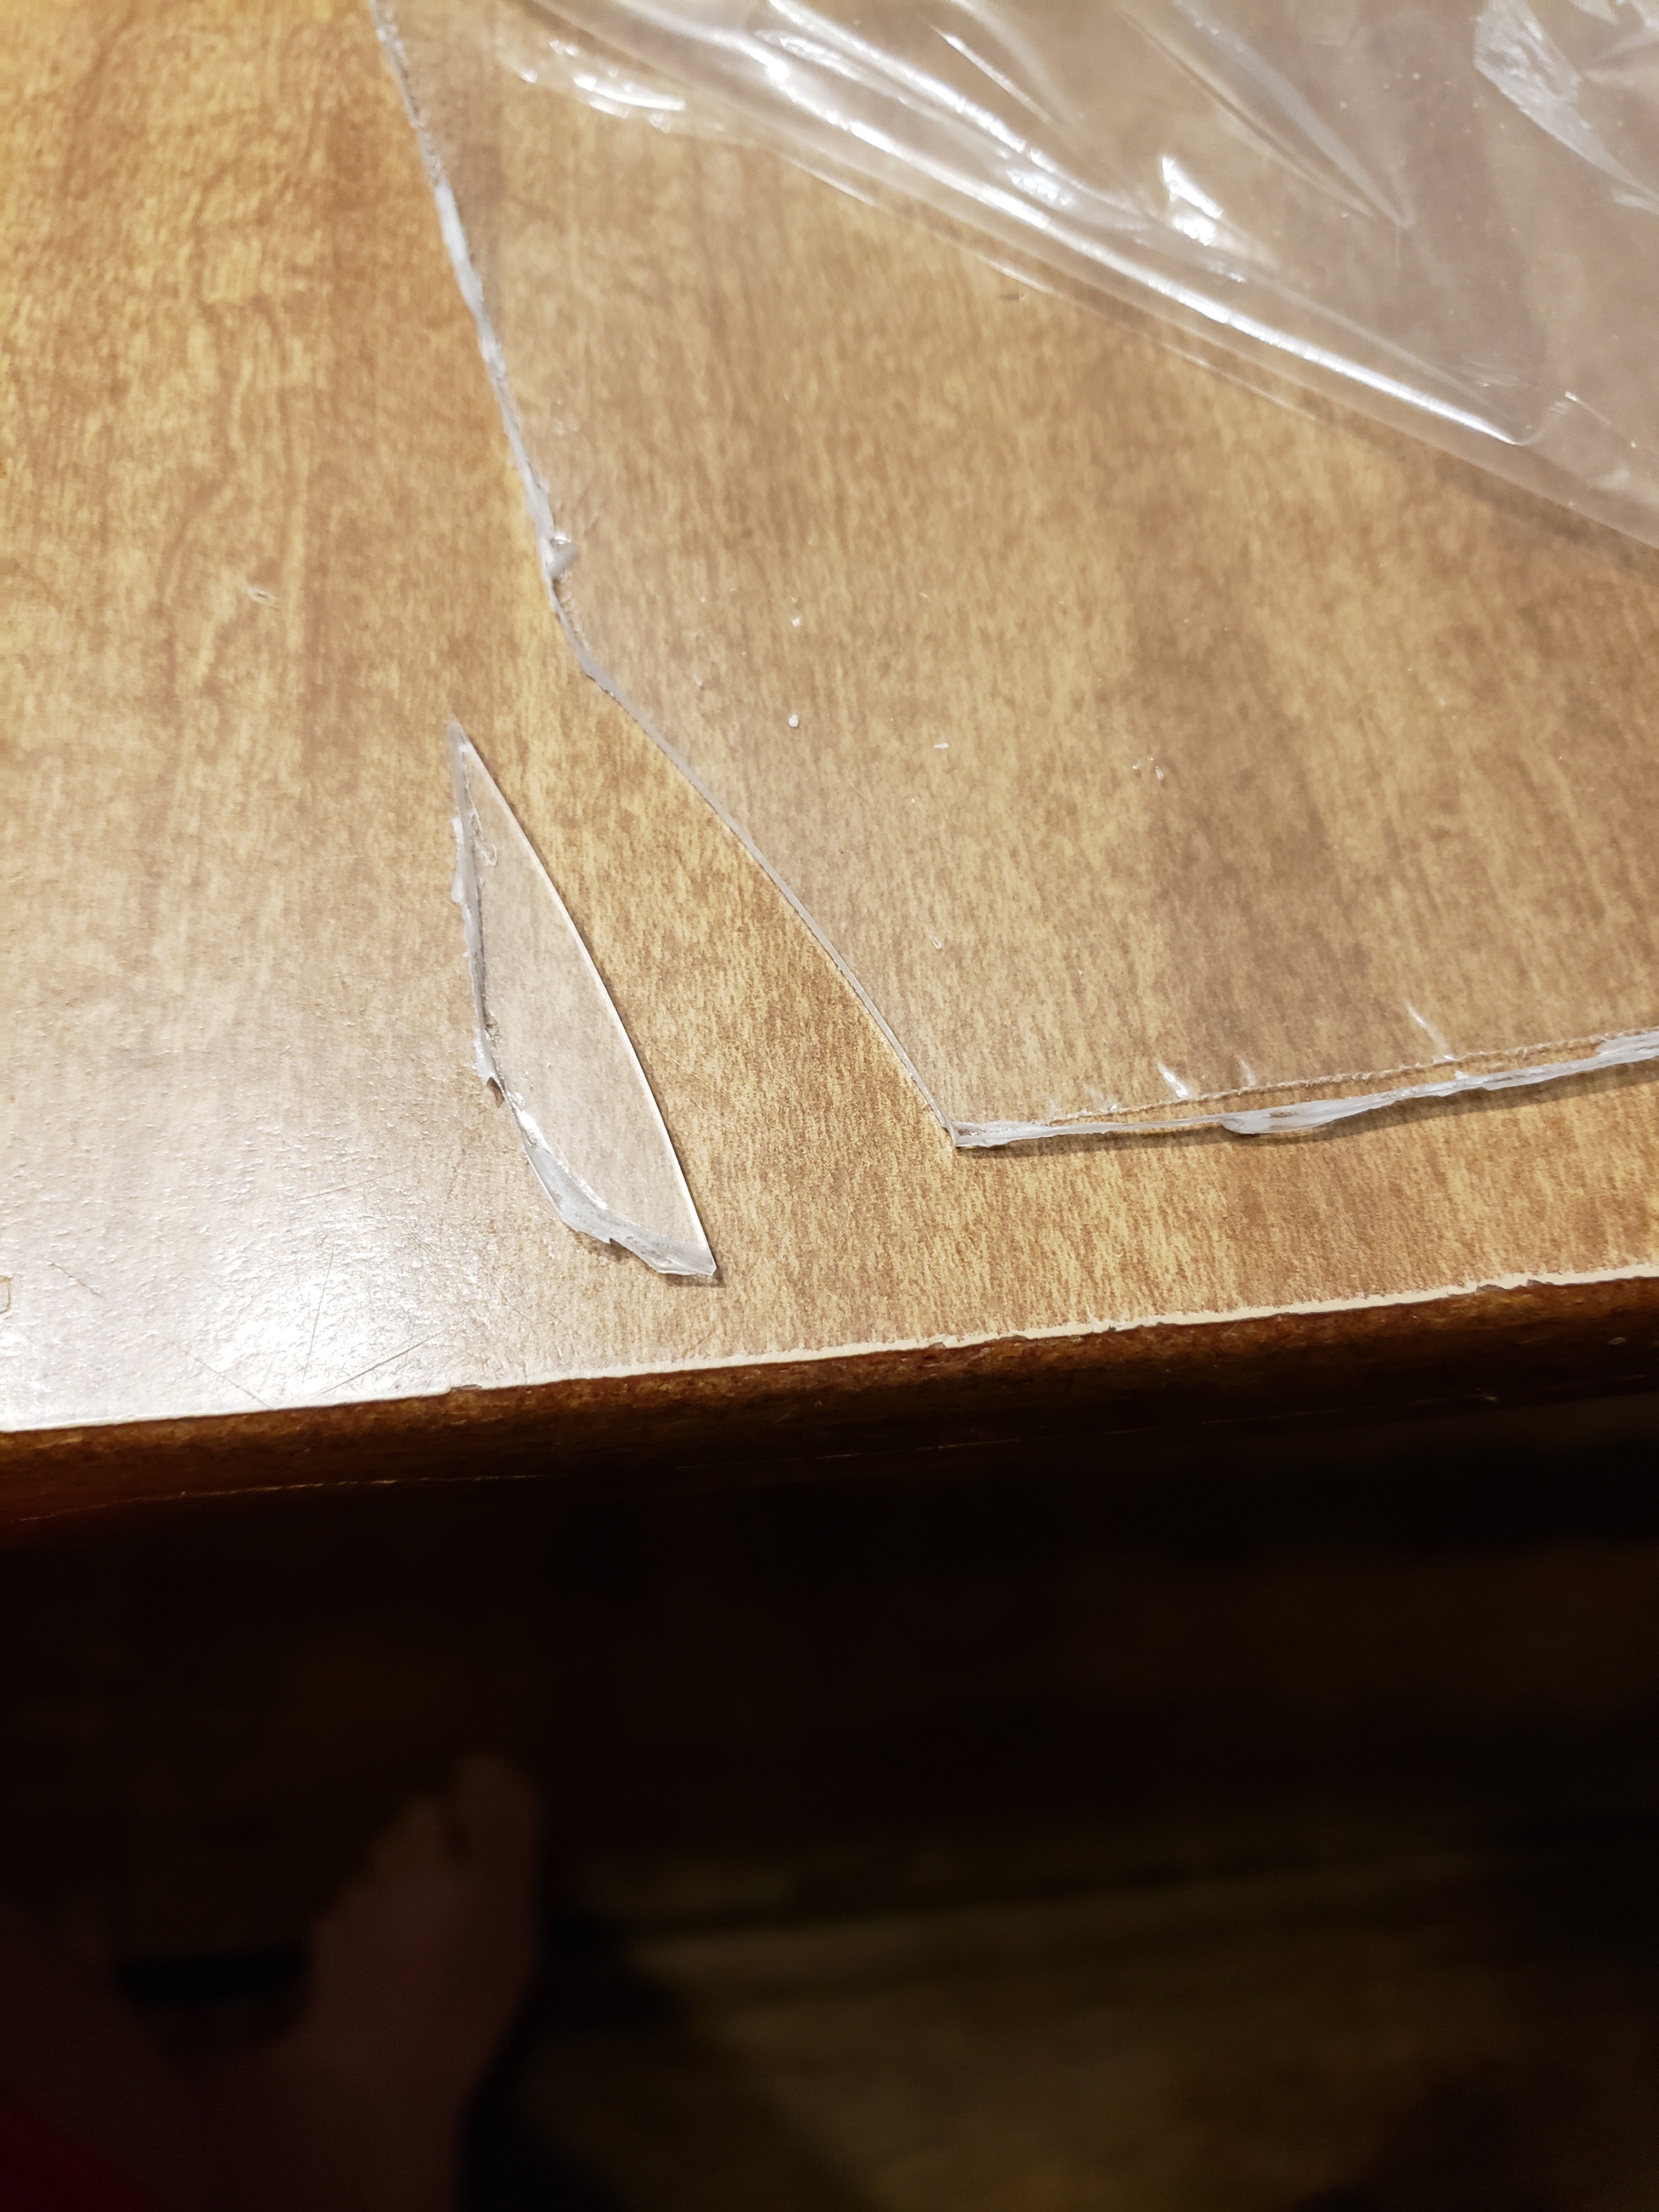
Considering how minor of an issue it is, I’ll likely just glue it back on. I’ve still got all the button holes to cut out of it, so I don’t know how that’s going to turn out yet. If it breaks while cutting them out, I may just consider this a learning experience and just get another piece of acrylic and start over.
That sucks. I understand acrylic can be difficult that way.
Edit: where do you get a sheet of acrylic anyway?
Lowes.
1 Like
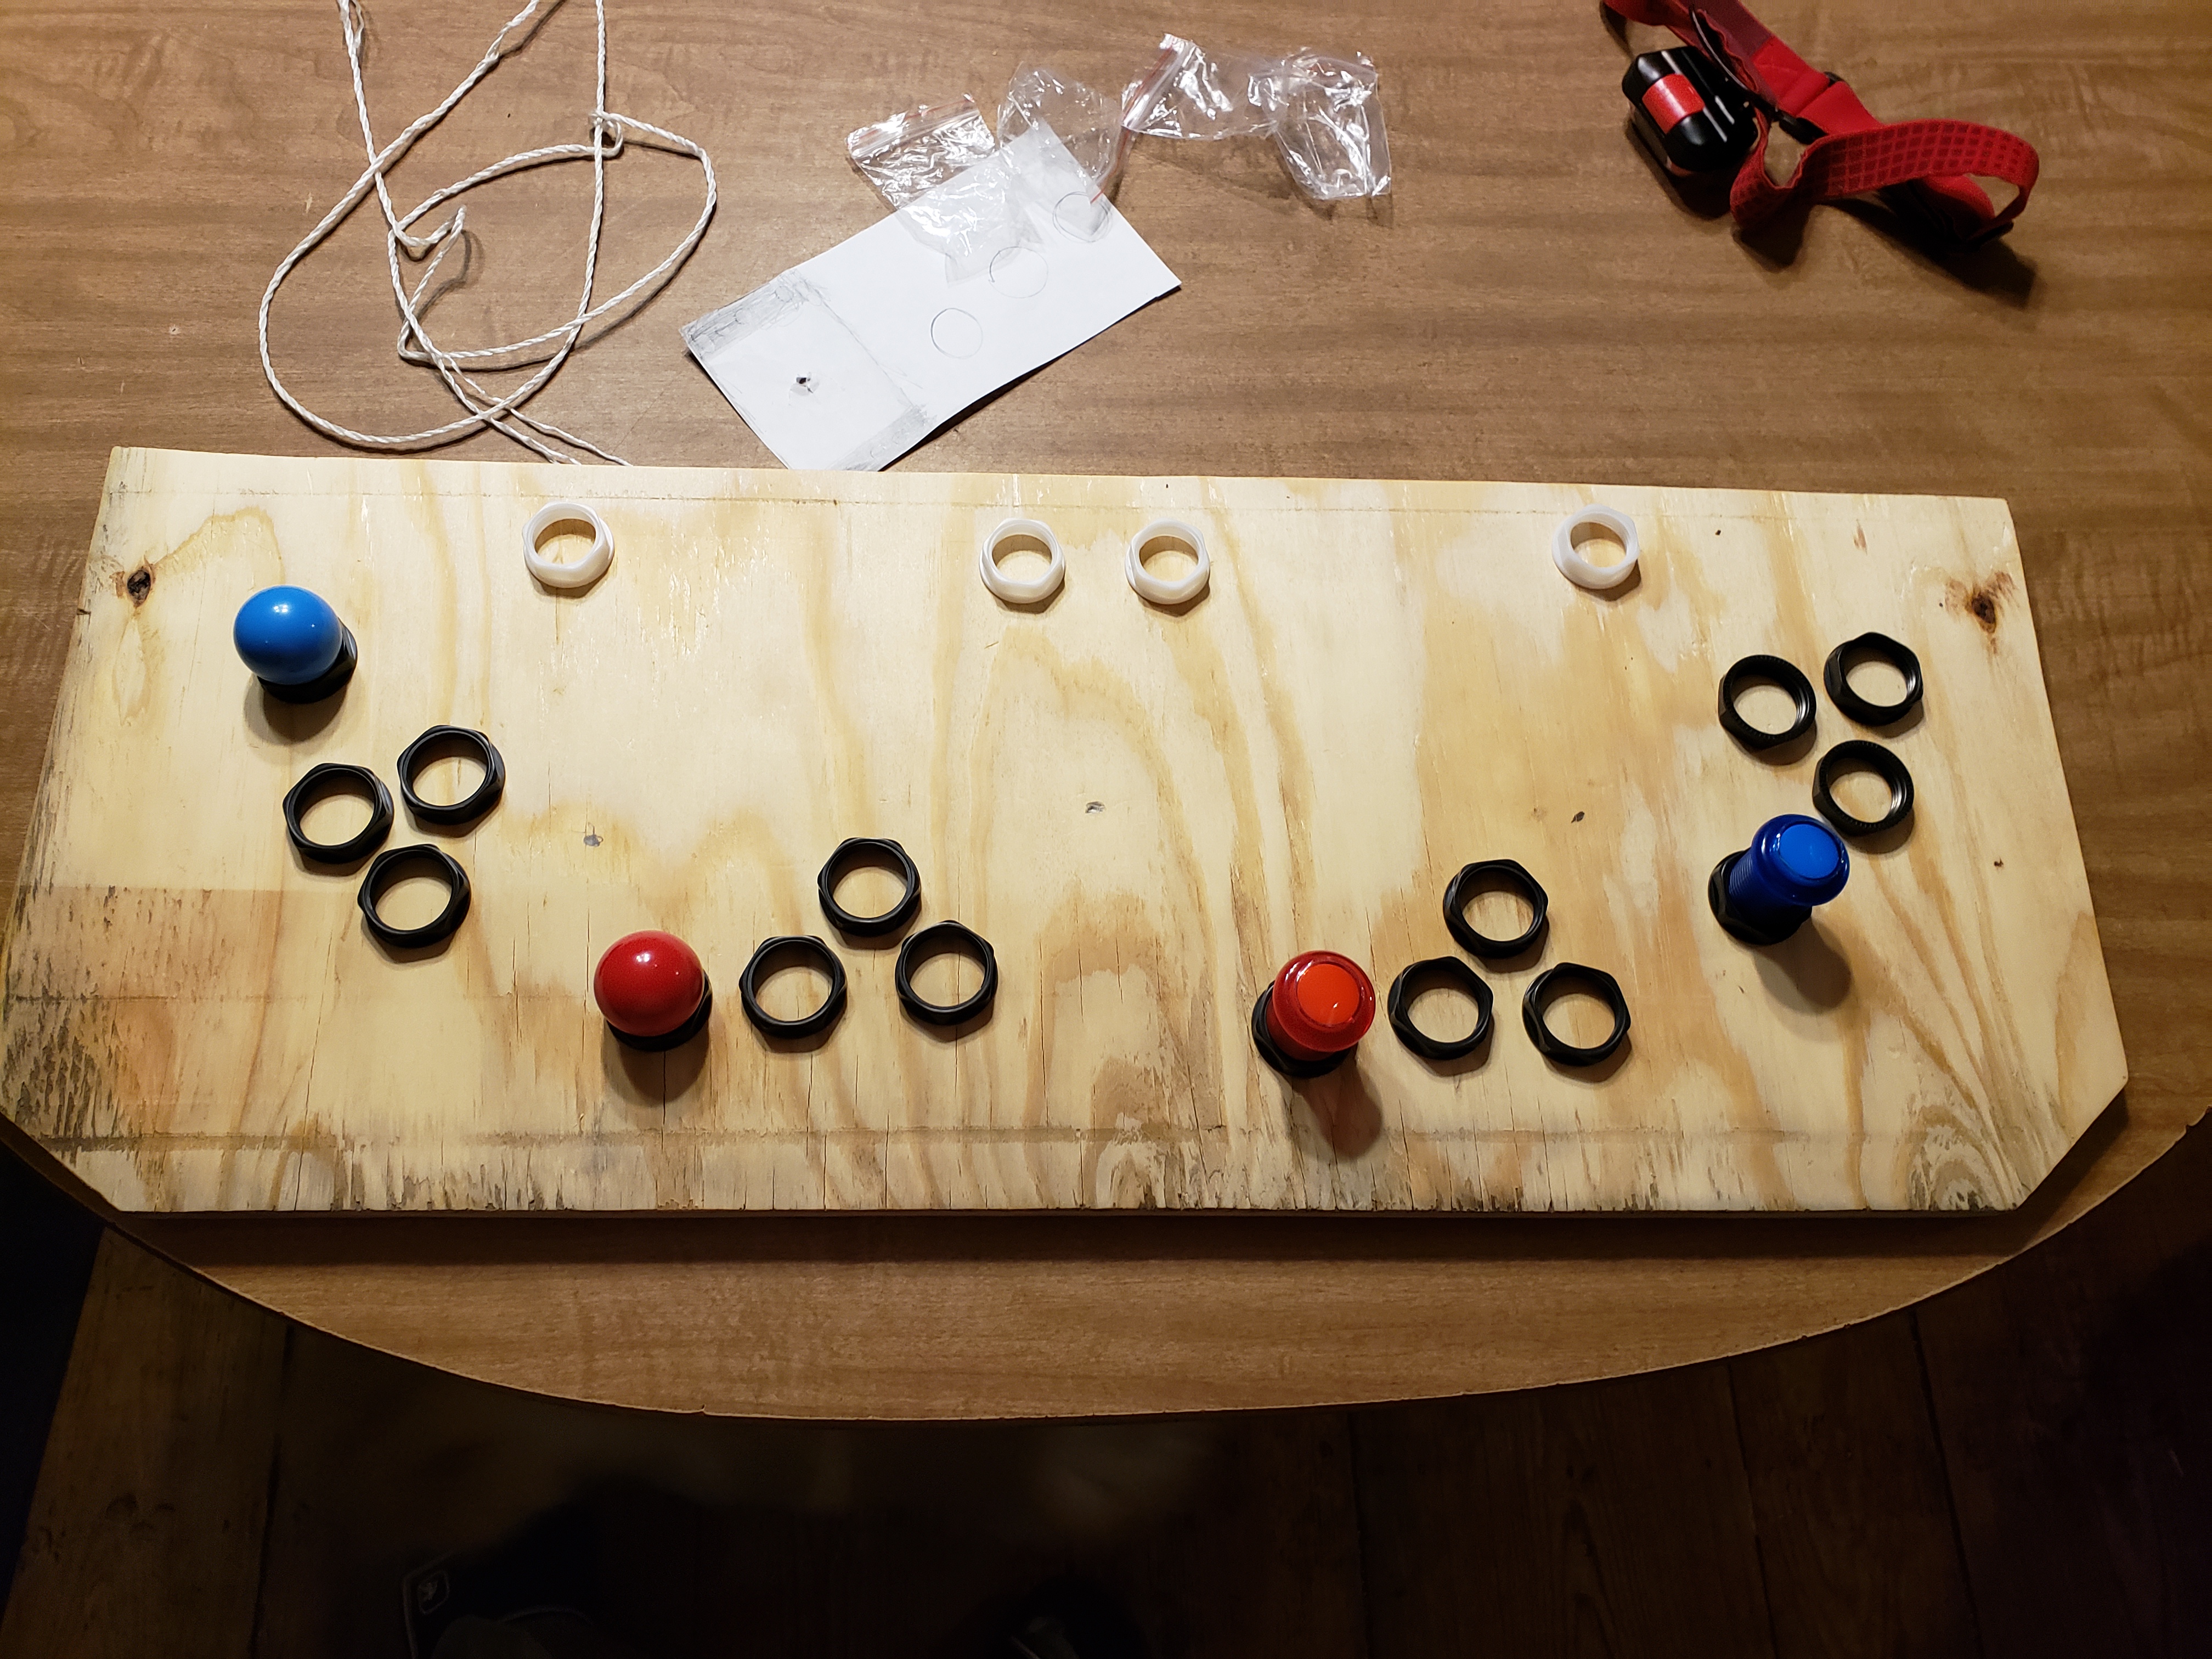
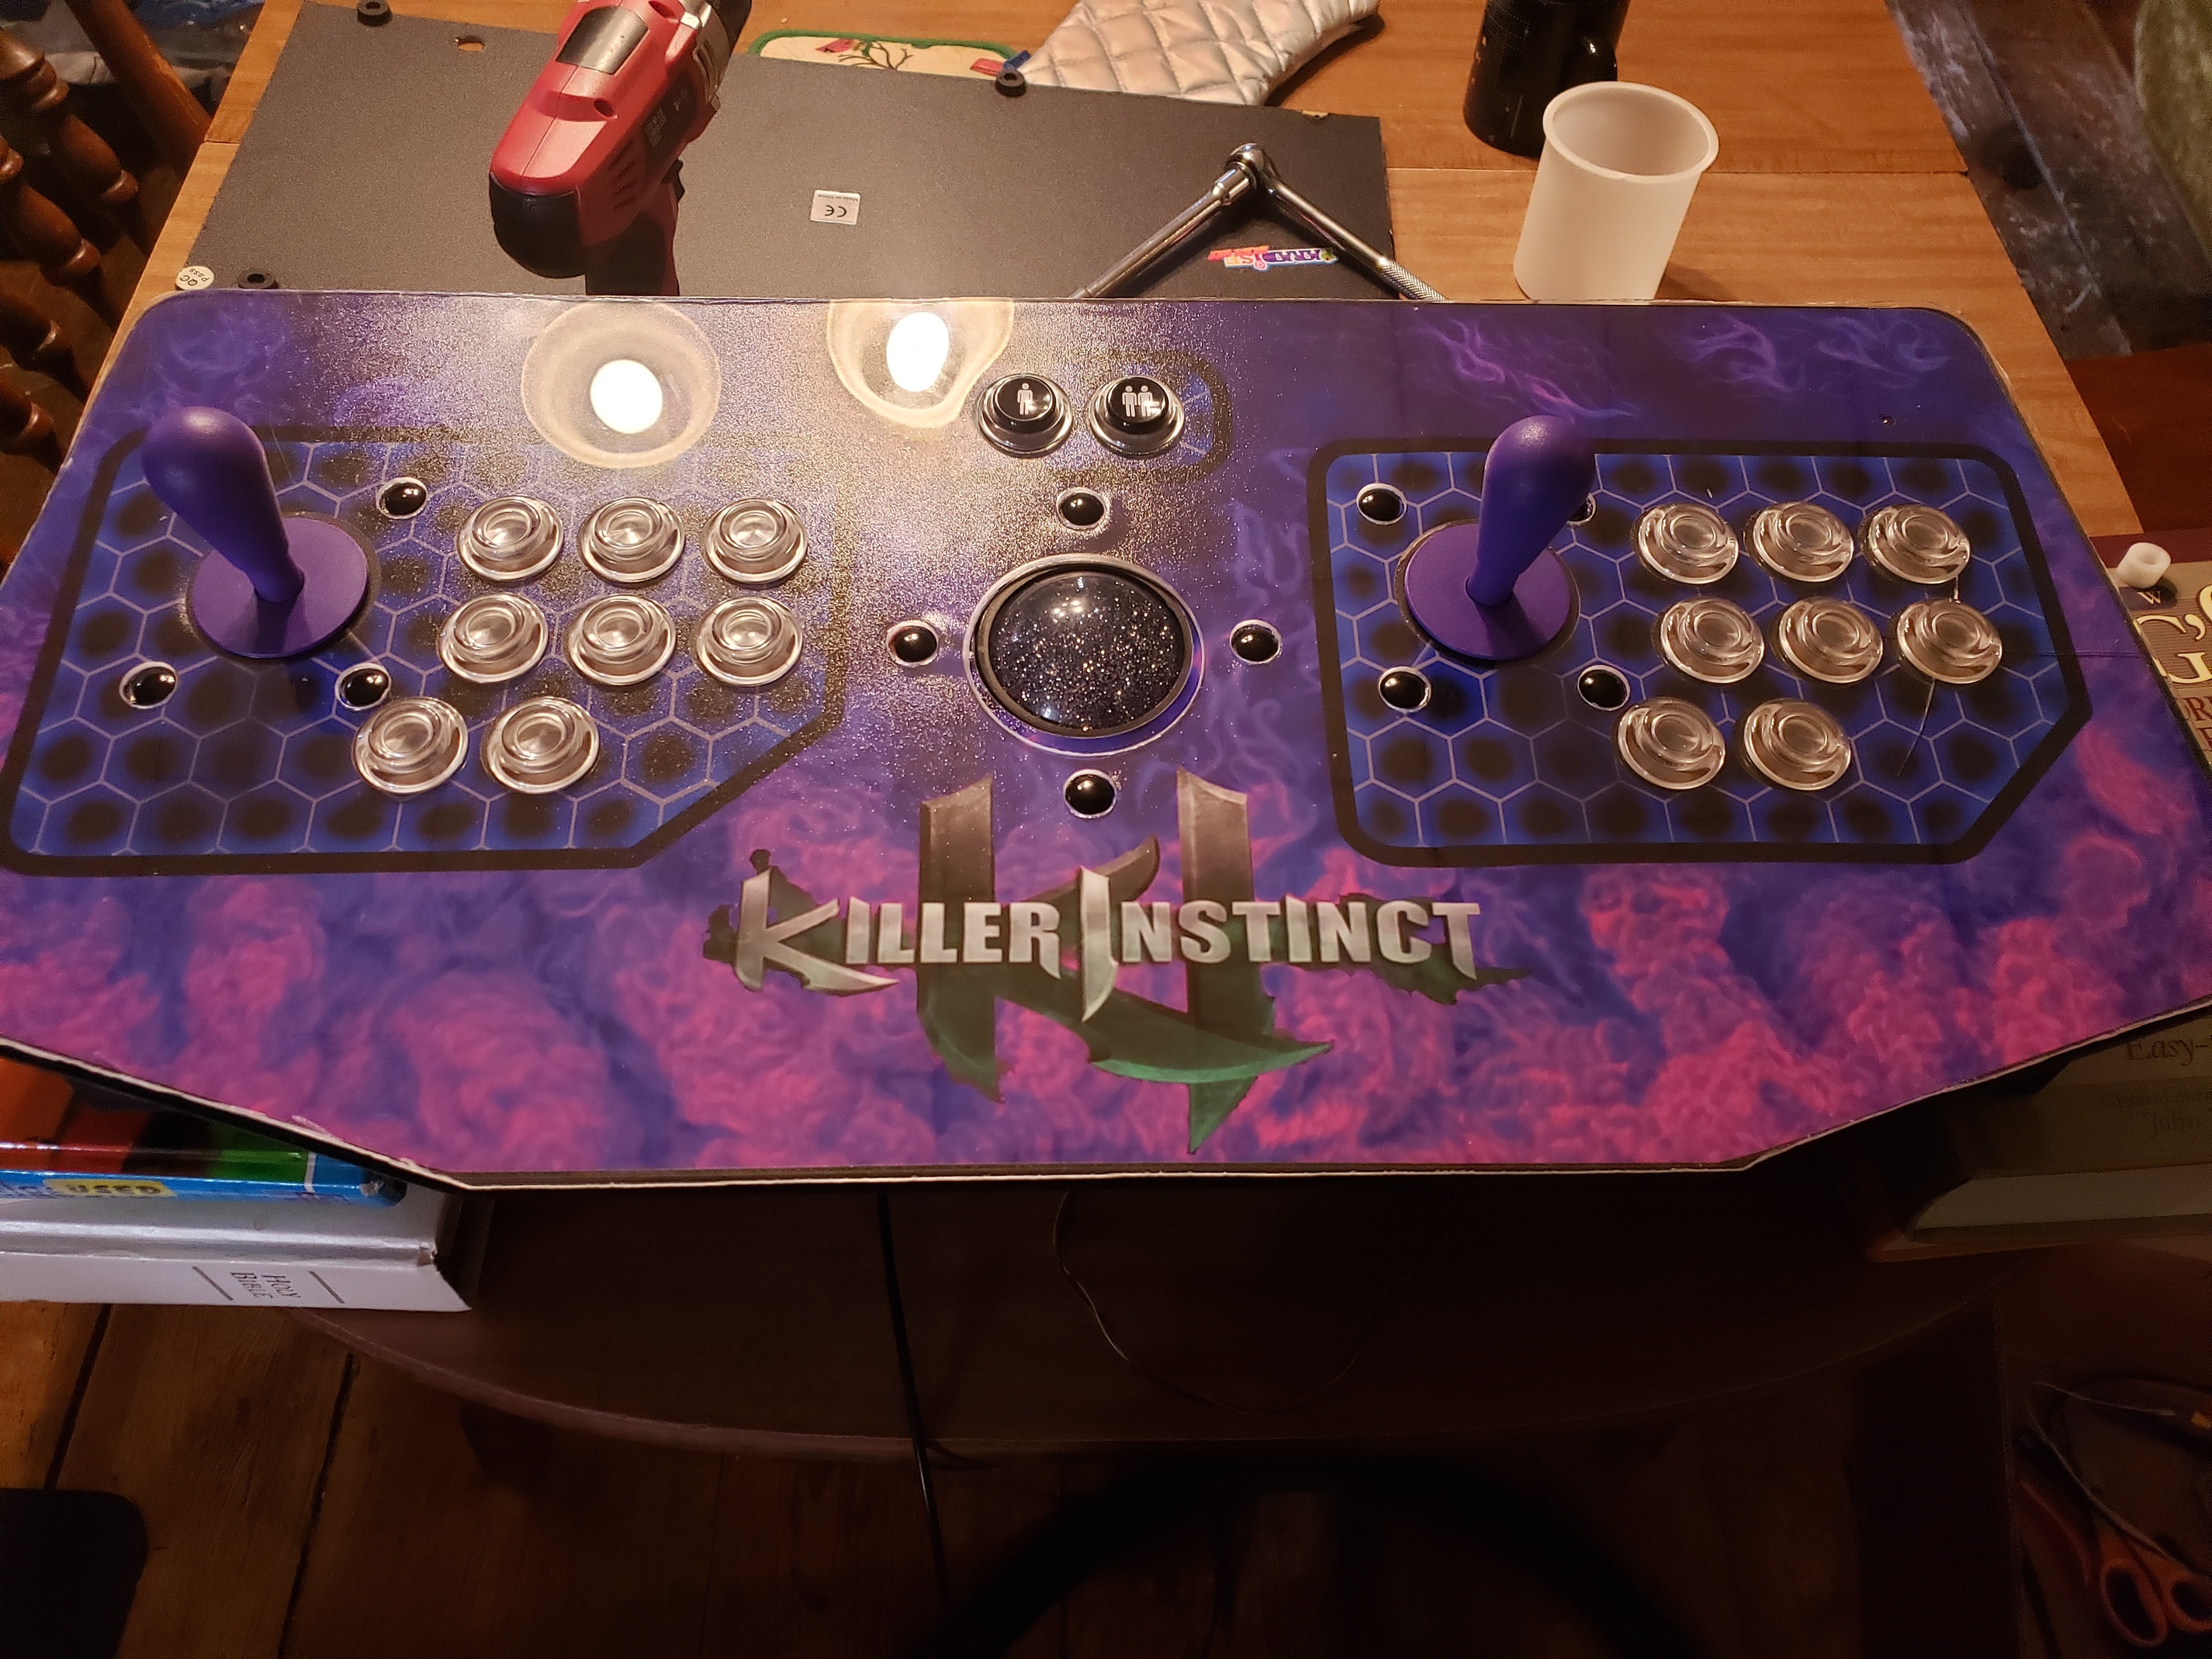
I got 2 sets of the buttons for the 4-player cabinet, and just as a visual guide I set out some of the button nuts (sounds dirty, lol) so I’ll know how to lay out the buttons and how far apart each player needs to…or in the case of the limited space, can…be. I did have the wife and older 2 kids gather around it to see how shoulder to shoulder we would be, and everyone seemed comfortable, so…yay!
3 Likes
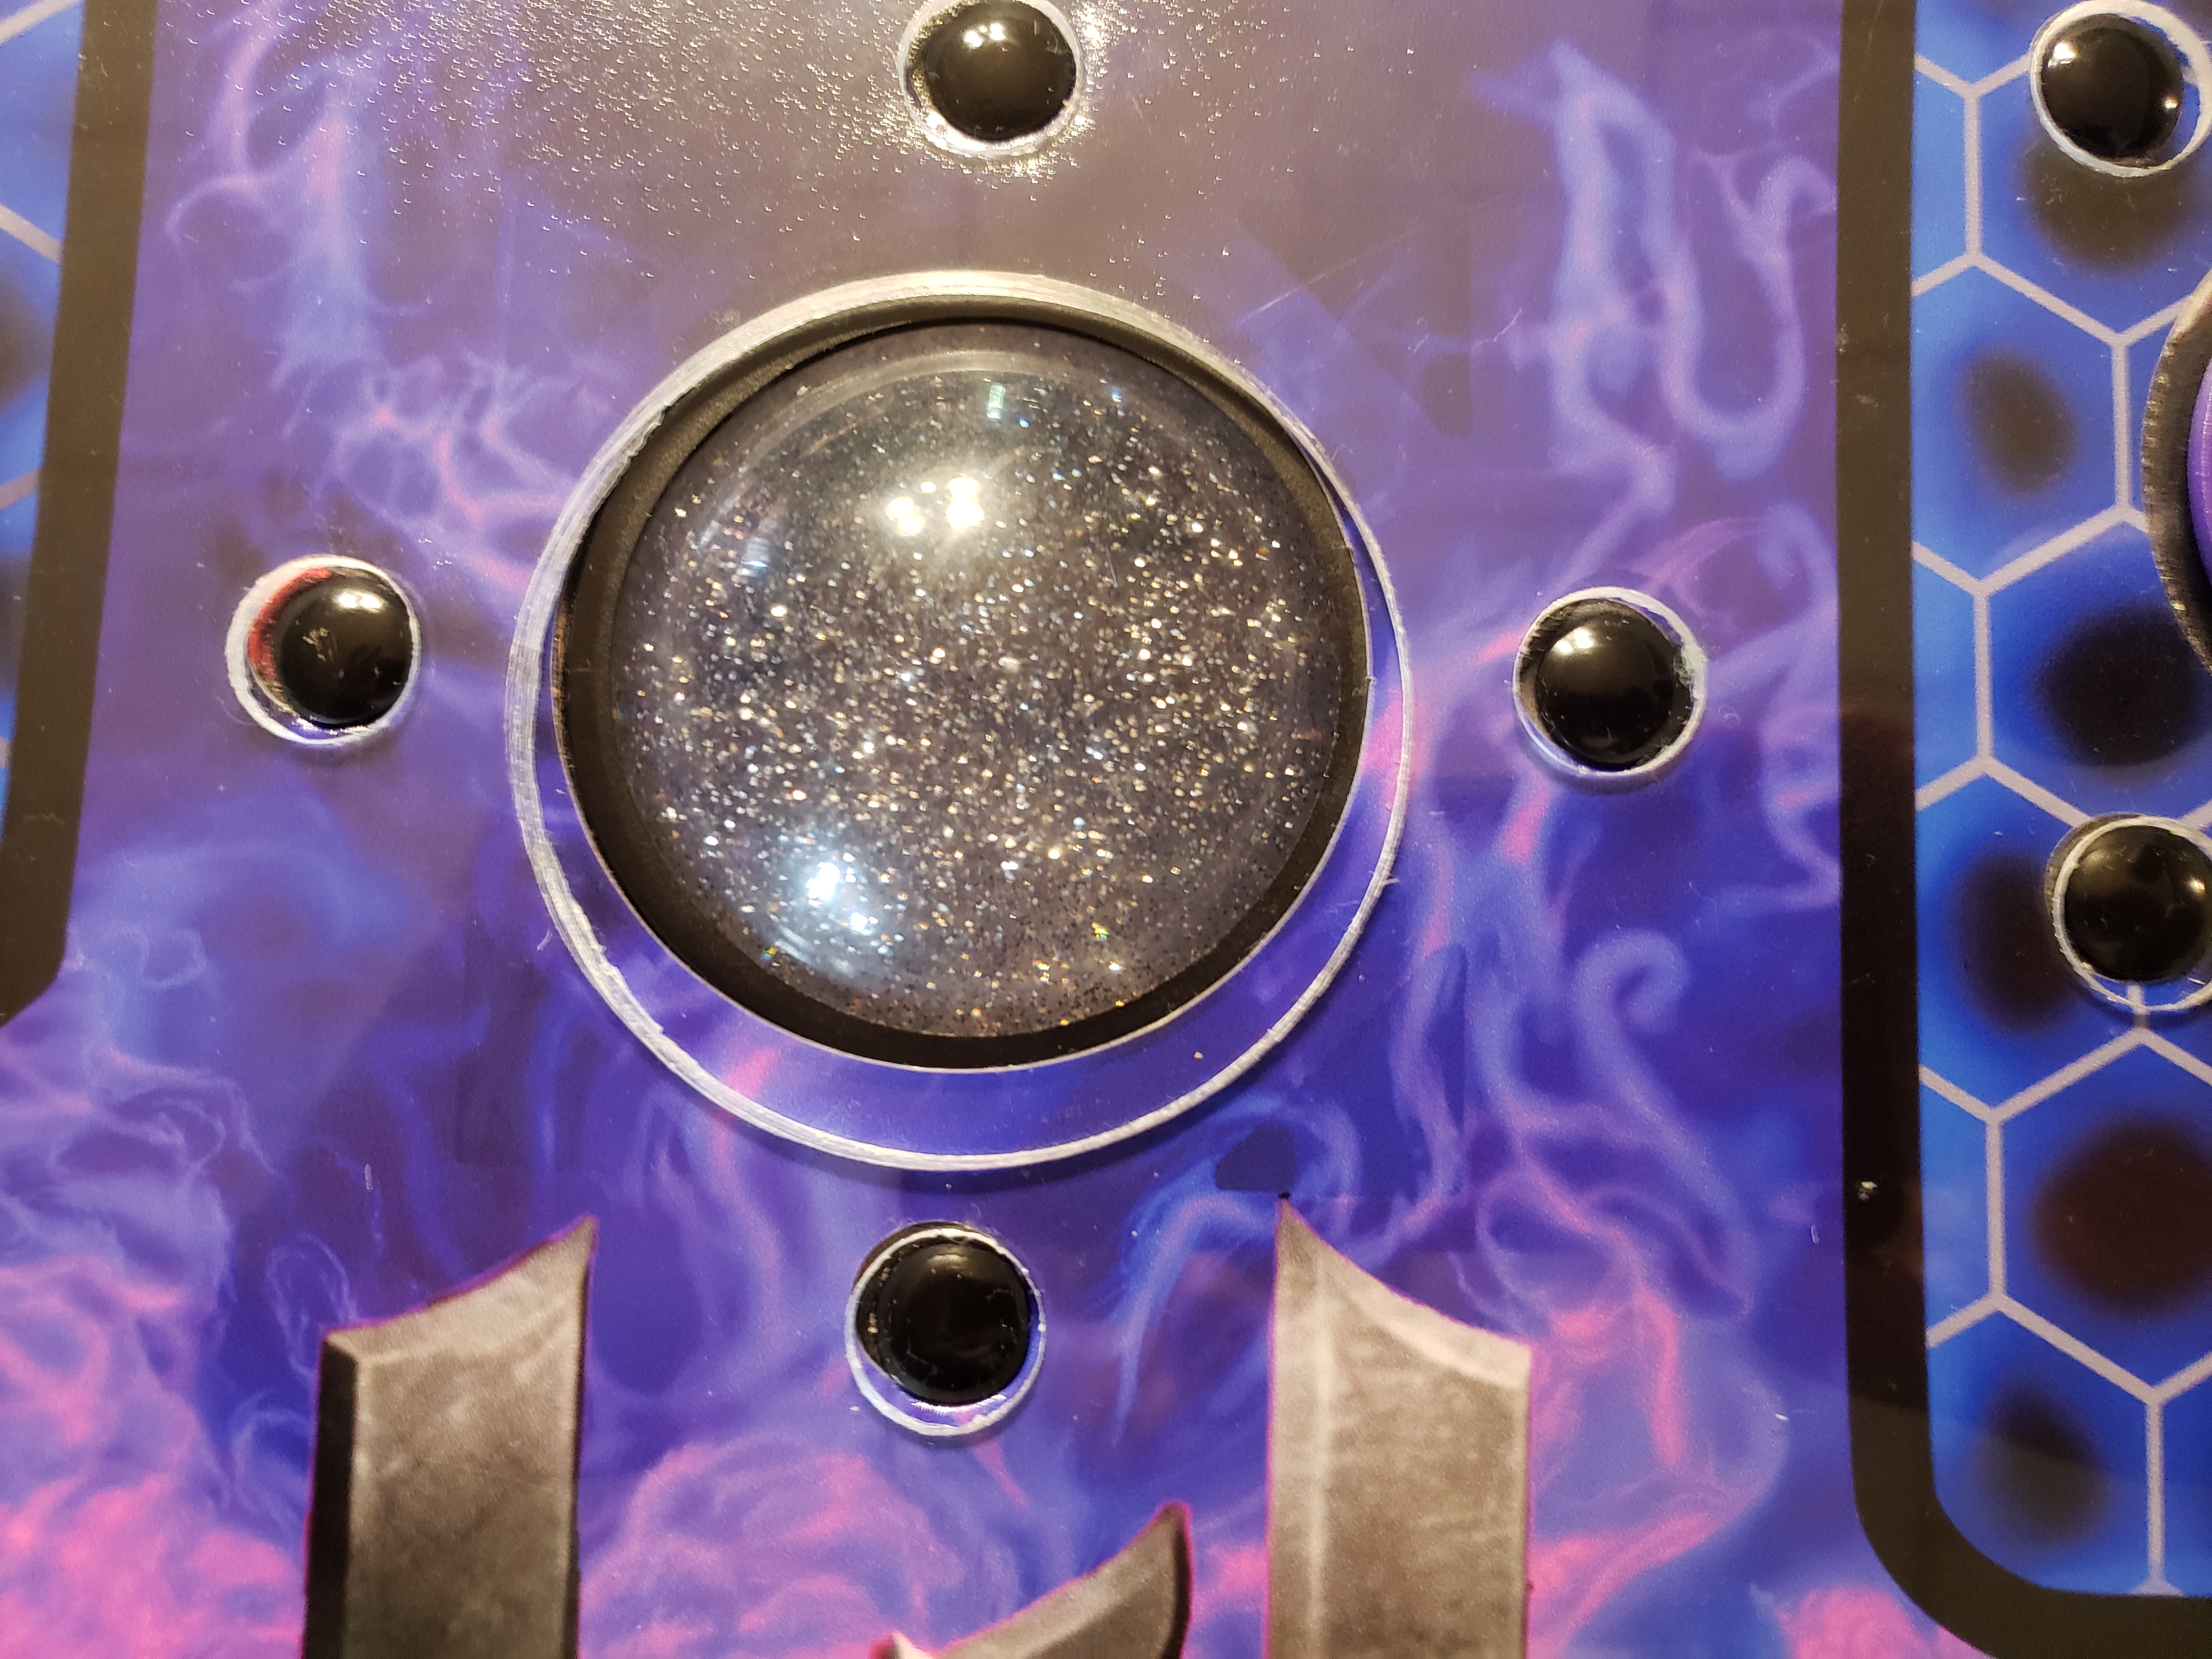
So, the acrylic on the tankstick is a bust. The button holes weren’t quite lined up right for one thing, but more importantly, for the bolts that hold the trackball and joysticks in I didn’t get their holes wide enough and didn’t account for the square end under the bolt head, so even when I tried to widen them out, it ended up cracking the acrylic. I thought I might be able to get it to still work, but it was bowing up around the trackball and just ended up being a mess.
So I intend on chalking it up to a learning experience and try again.

A few changes I intend to make:
A: when I first marked where the button holes were placed, I didn’t have it clamped down, the stick board was just sitting on it. Next time it’ll either be clamped down to trace the holes, or I may just cut them through the stick’s holes so I’ll know they won’t be off.
B: the bolts are going to be a non-factor because the holes are going to be big enough for them to go completely through the acrylic.
C: I’m not going to get super excited that I’m almost done with any part and get cocky and end up snapping off a corner.
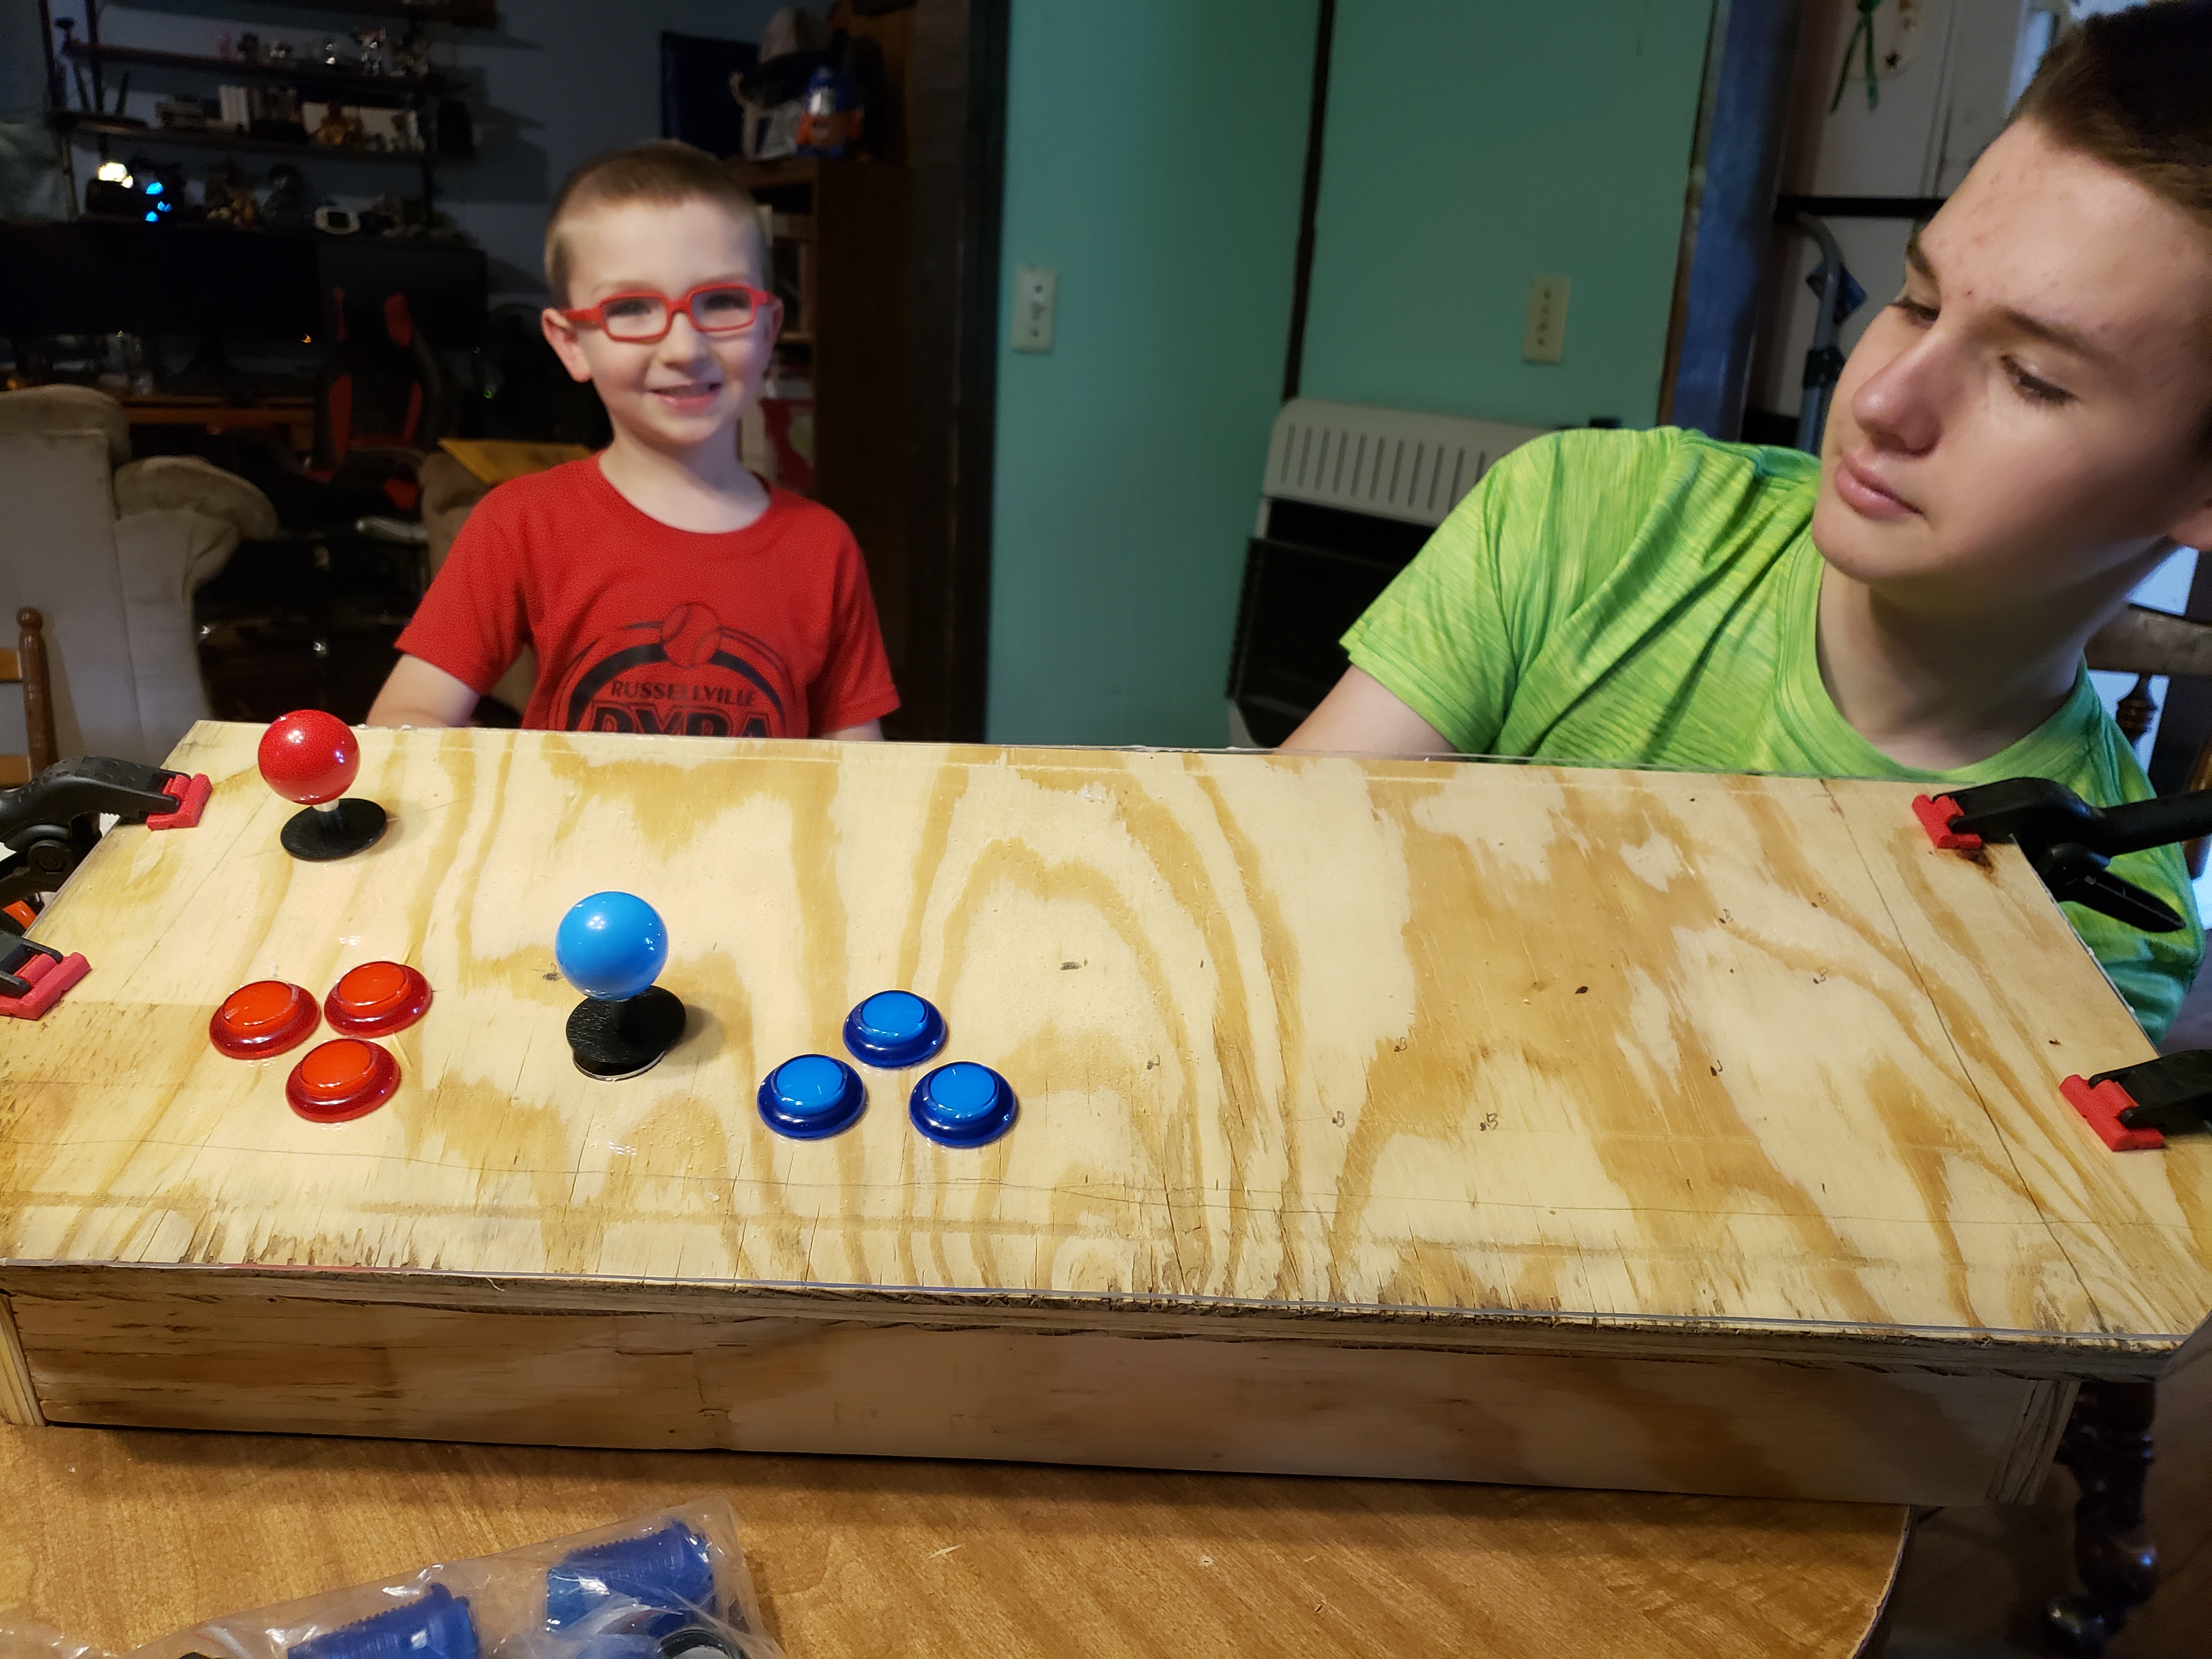
On the plus side though, the 4-player board is coming along nicely. I’ve got the holes for player 1 and 2 finished, as well as the box that goes on the bottom for the electronics. The plan is to have it functional by this weekend.
2 Likes
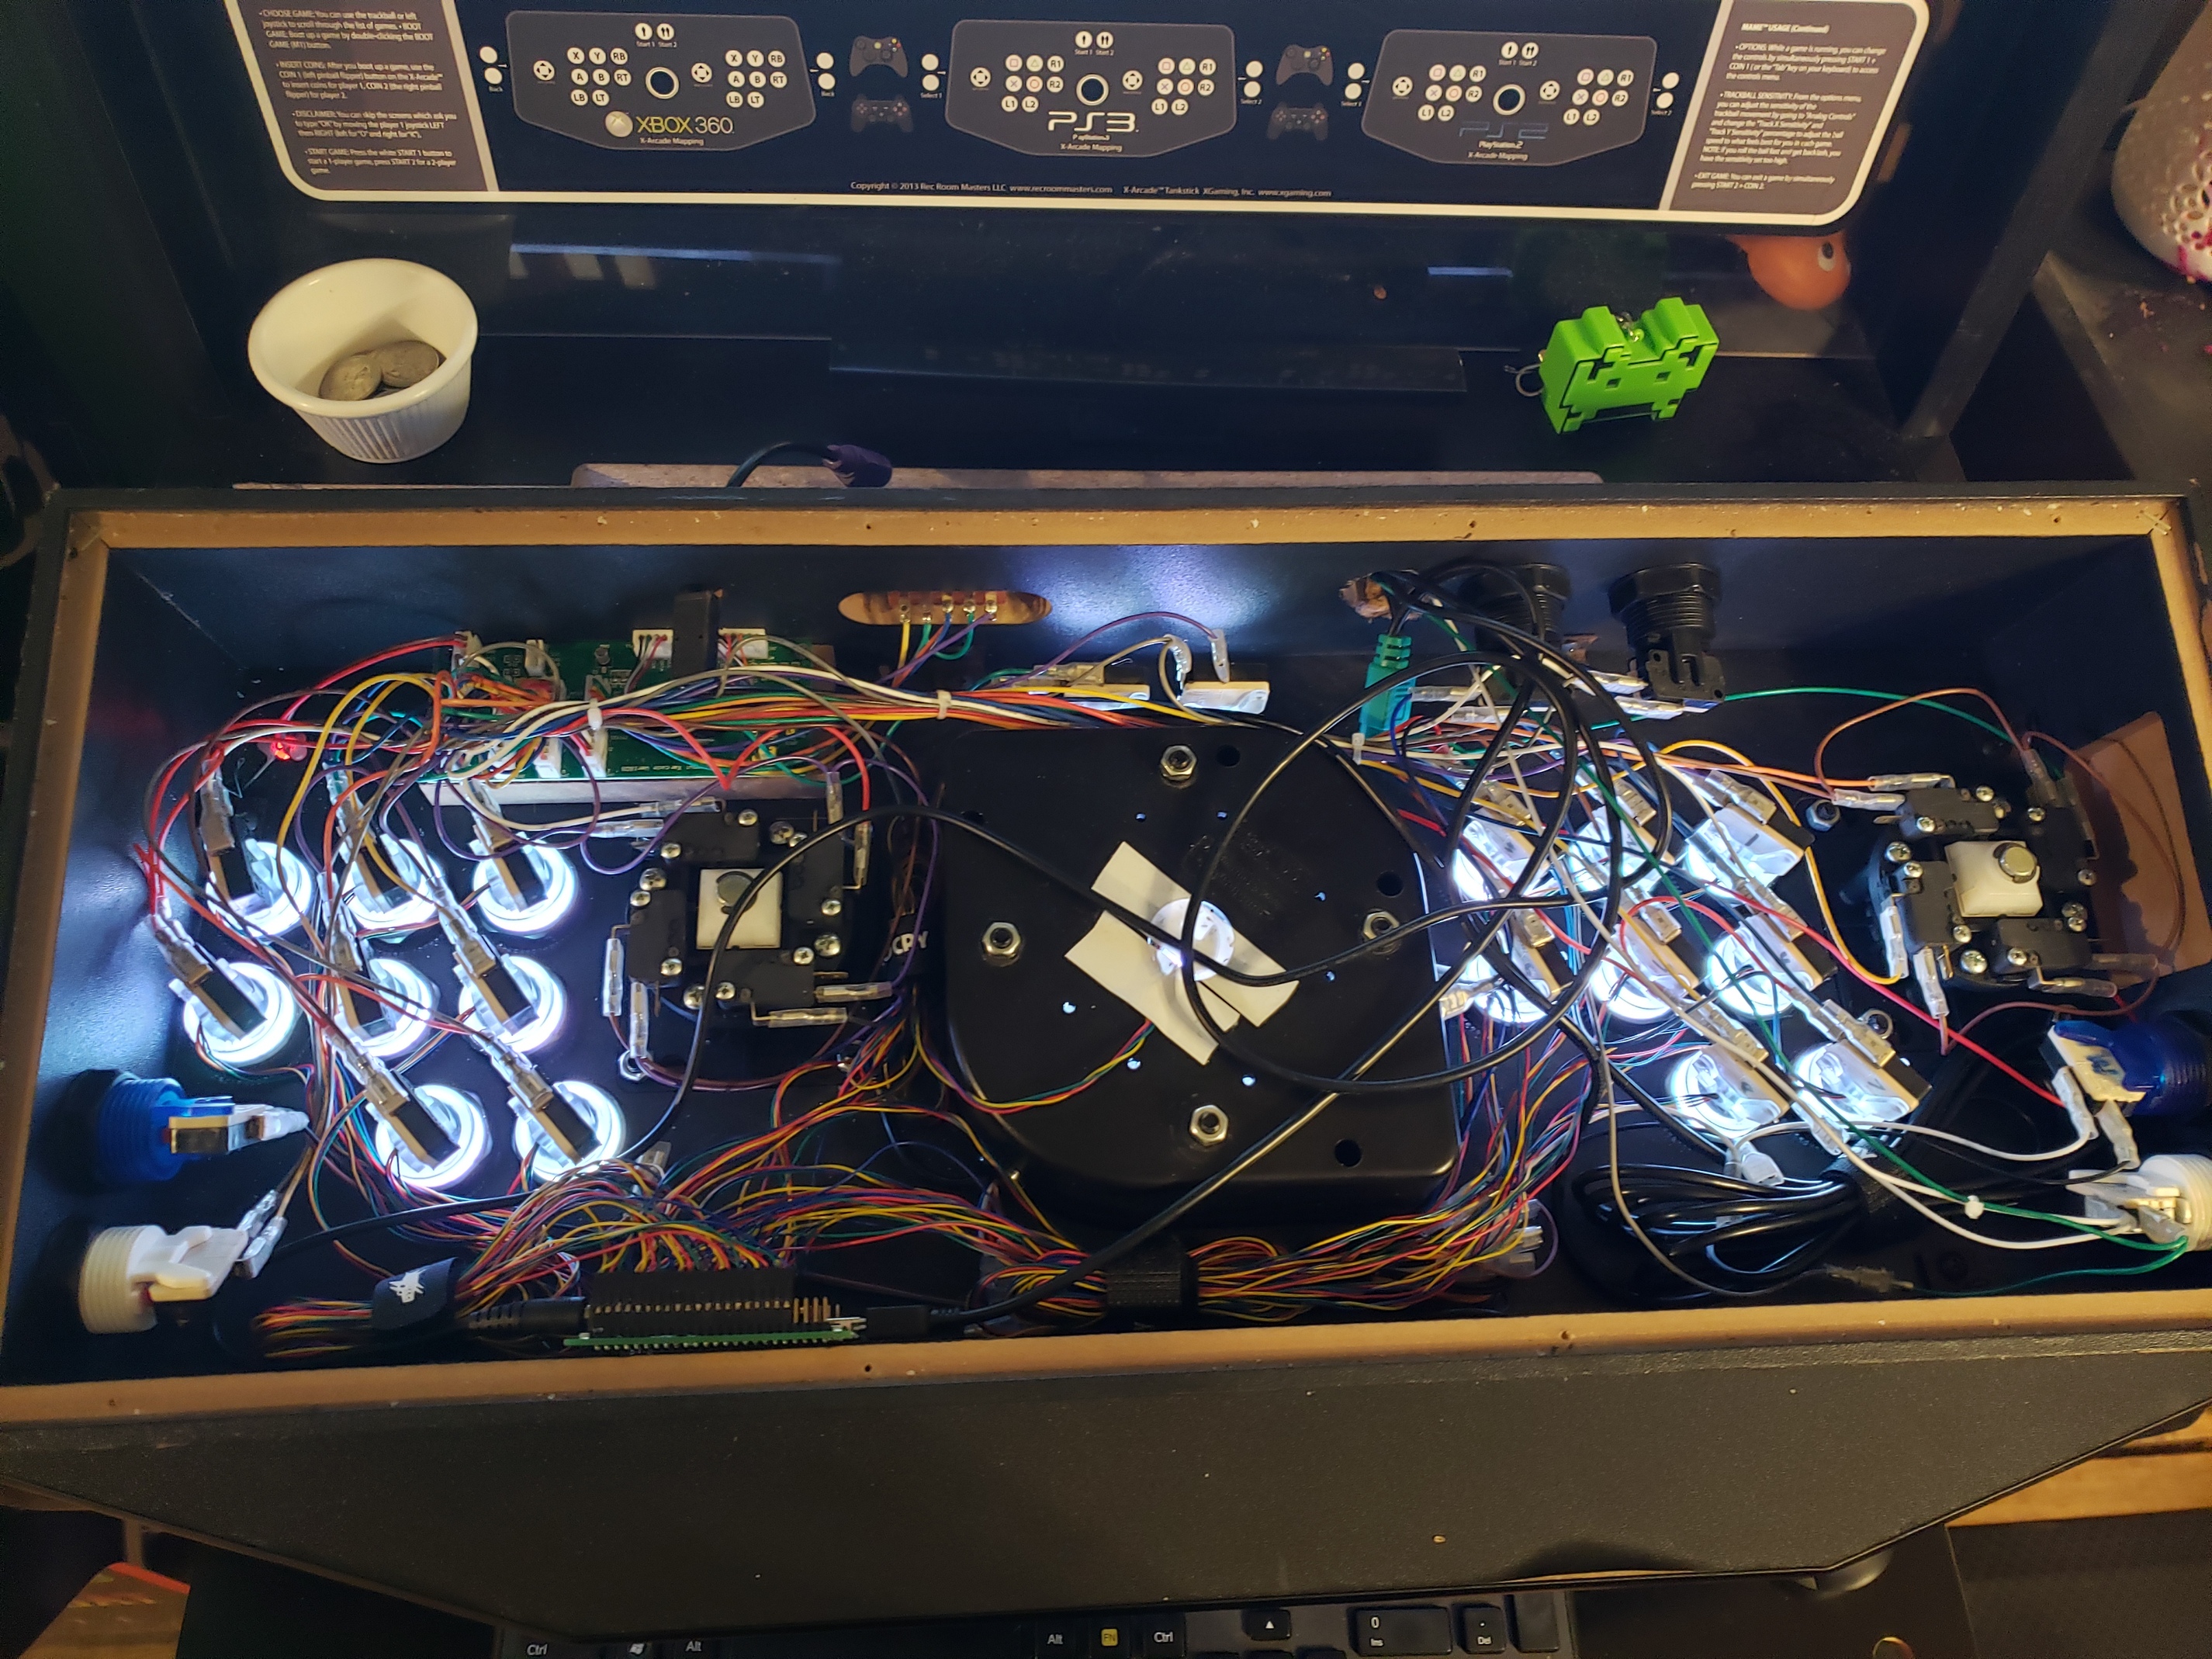
Woohoo!! I finished the acrylic for my tankstick. It only has 2 minor issues: there is a couple of cracks around one of the buttons, but that’s the only one, and it’s not going anywhere, and the hole for the trackball is a tad low, but I purposefully made the hole bigger than what was needed so as not to interfere with it’s use, so it’s still not in the way. Not I just have to wire the lights back up and put the switches back on all the buttons.
Also, the other 2 joysticks and button sets for my 4-player board should be here today, so it should be completely functional late tonight when I get home.
5 Likes

3 Likes
I’m finally finished, save for the cleanup. 4-player board is up and running, though I still need to add covering to the wood, as well as artwork.
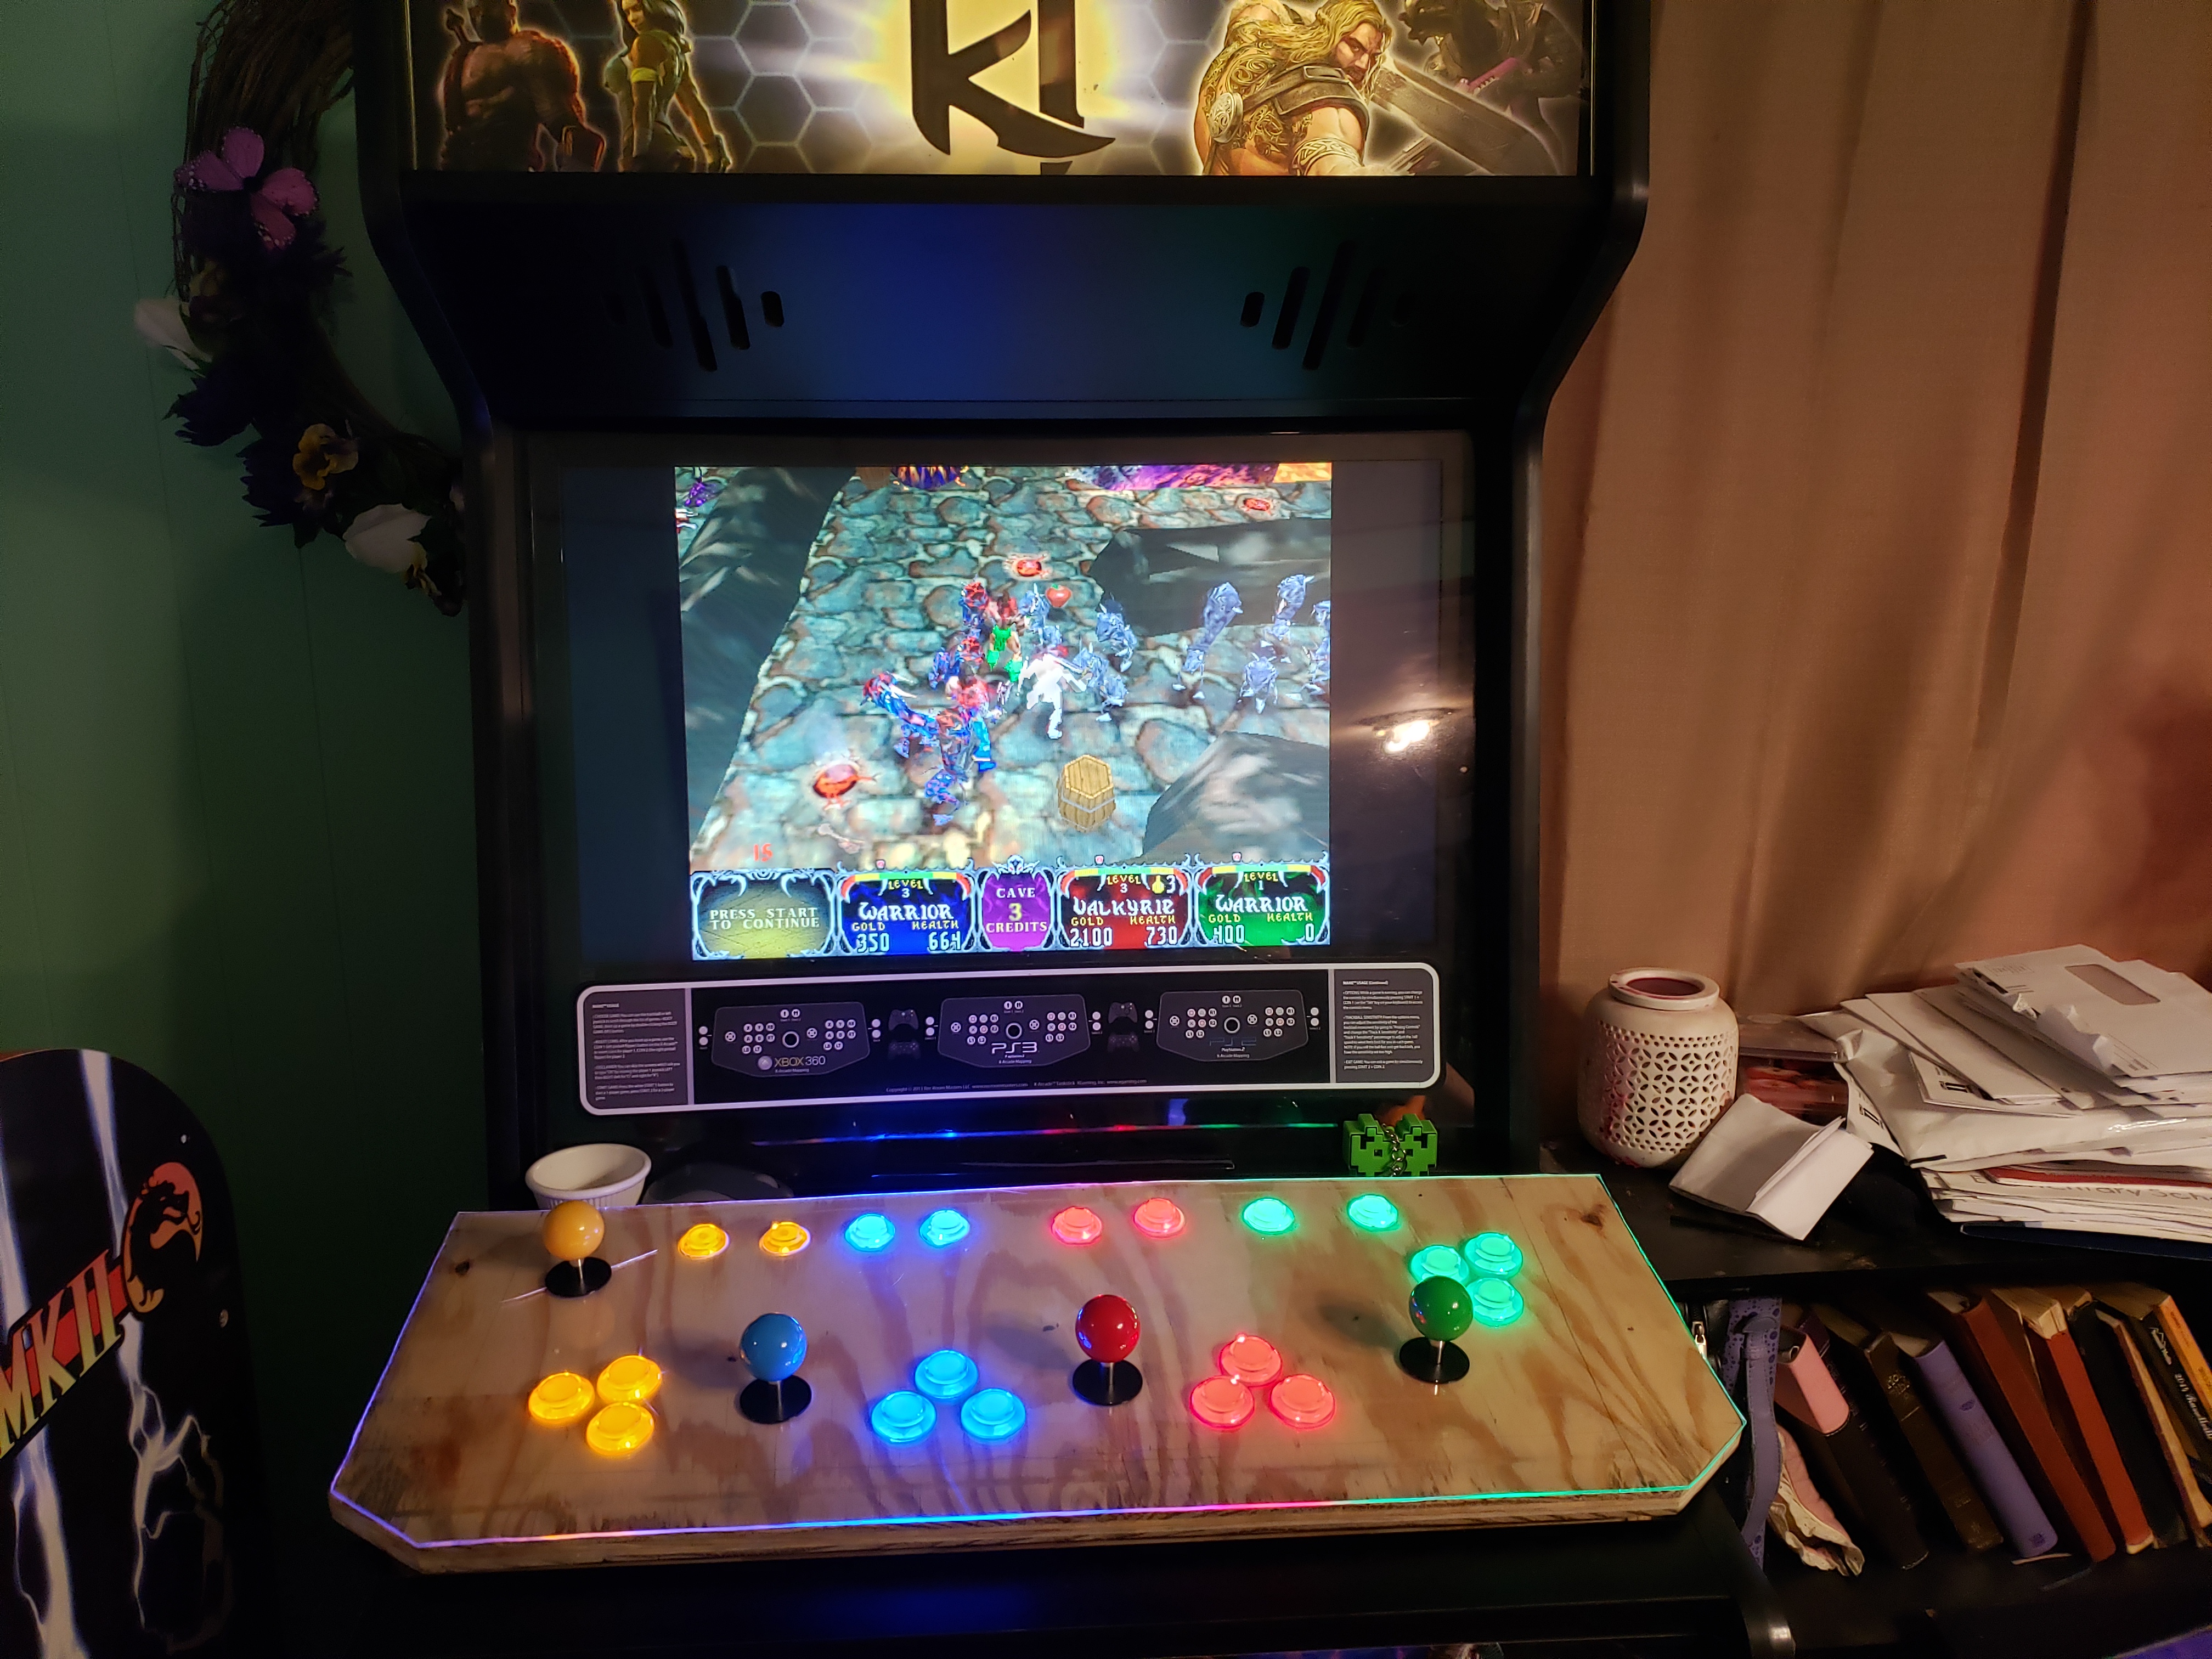
I’ll post a video later of the lights in my Xarcade tankstick. I’ve been meaning to show off the idle animations I’ve added to it since I added lights.
6 Likes
How do you tag everyone? This needs 10000 likes.
5 Likes
Well, it doesn’t seem to work..
4 Likes
give it some time.. it’s only been a few hours. @everyone
3 Likes

2 Likes