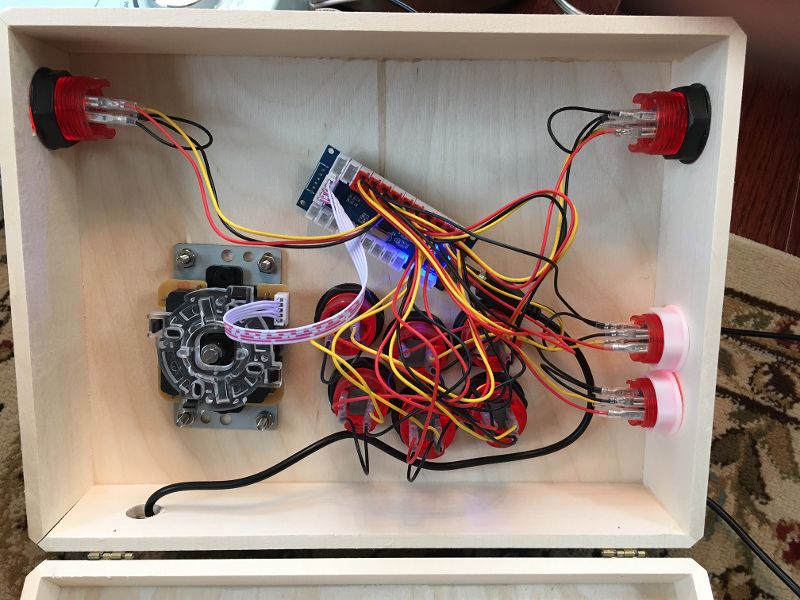
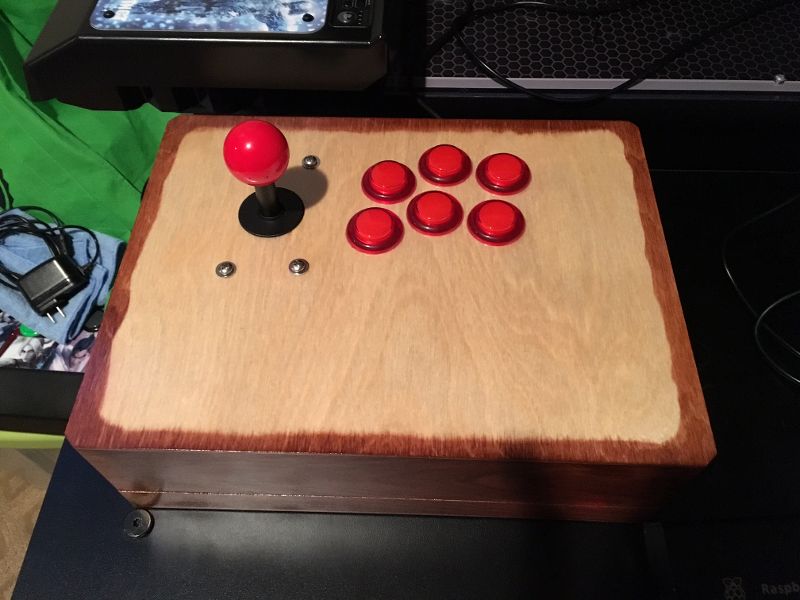
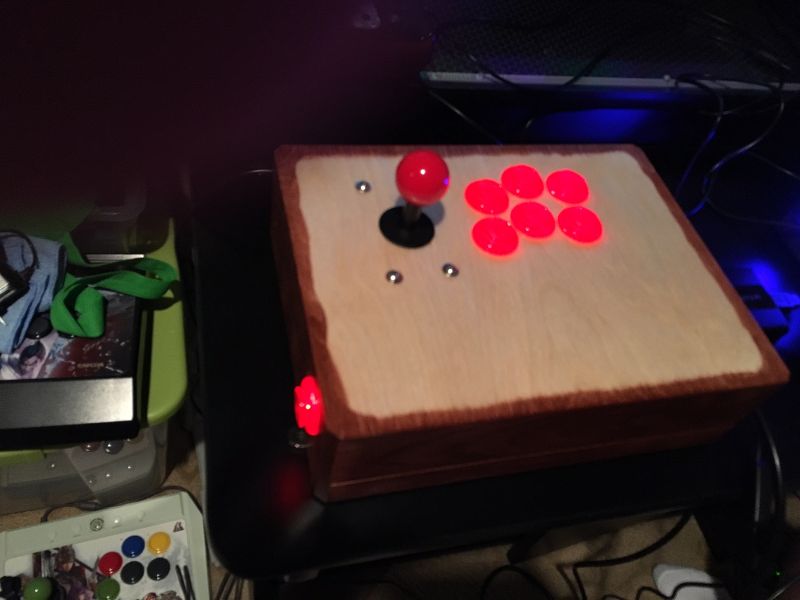
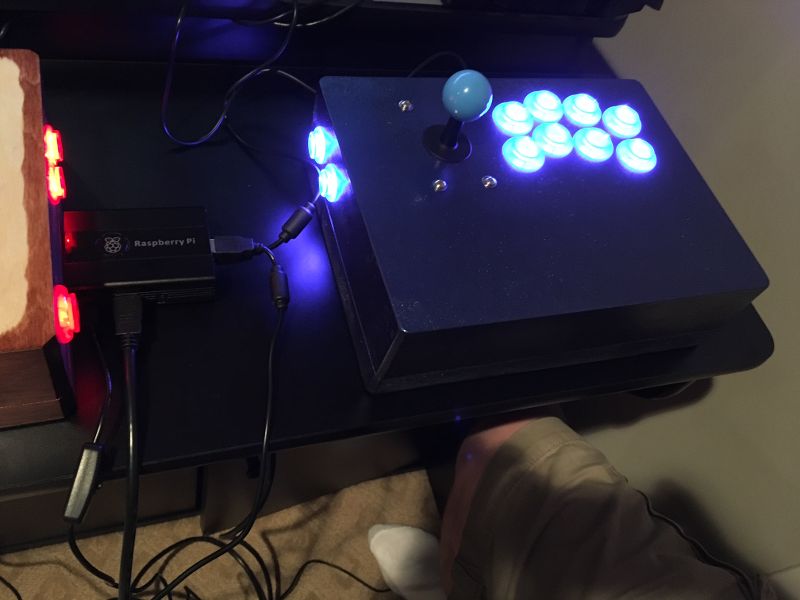
I figured I would share this, in case people found it interesting. I started mucking about with retro emulation, and I got a sort of project bug. Long story short, I built myself a joystick. Right now it has cheap knockoff parts in it (although the buttons do light up), but I may replace them with better parts later on. It’s got a zero delay USB encoder on the inside, so it is basically a PC controller. It won’t work with KI, but it should work with everything else I play on PC. Maybe it will work with the steam version.
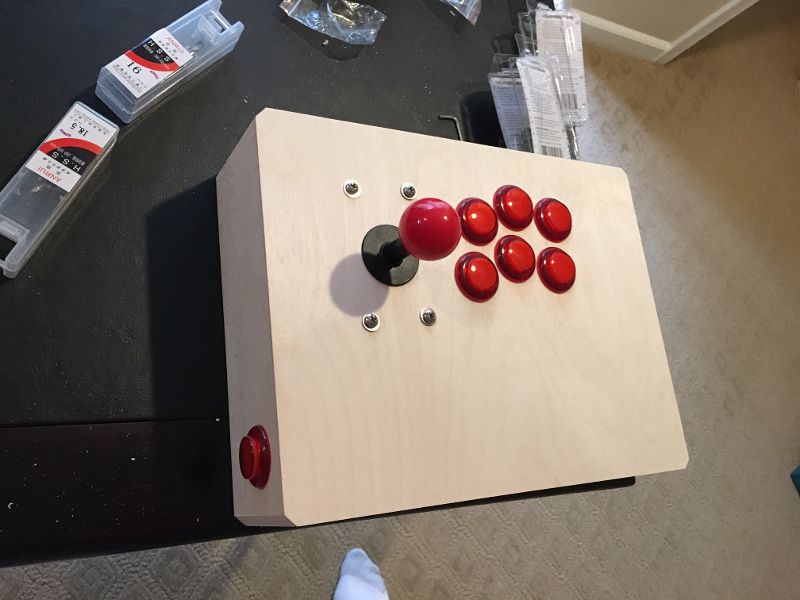
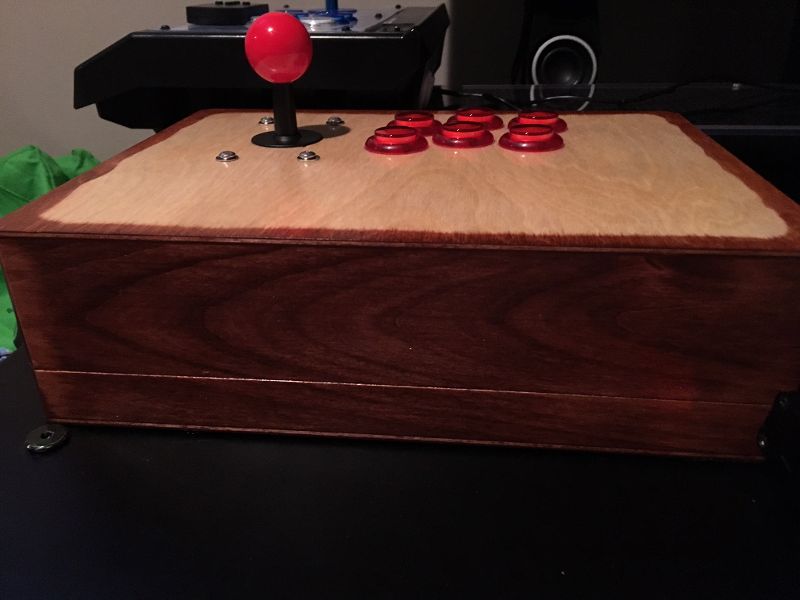
I was planning to paint the box, but it actually looks pretty cool as is. I may just put some clear coat on it. Tagging @WrathOfFulgore because we talk about retro stuff and he built an arcade machine. Tagging @FallofSeraphs76 because I know you have a Stan the Man custom, stick.
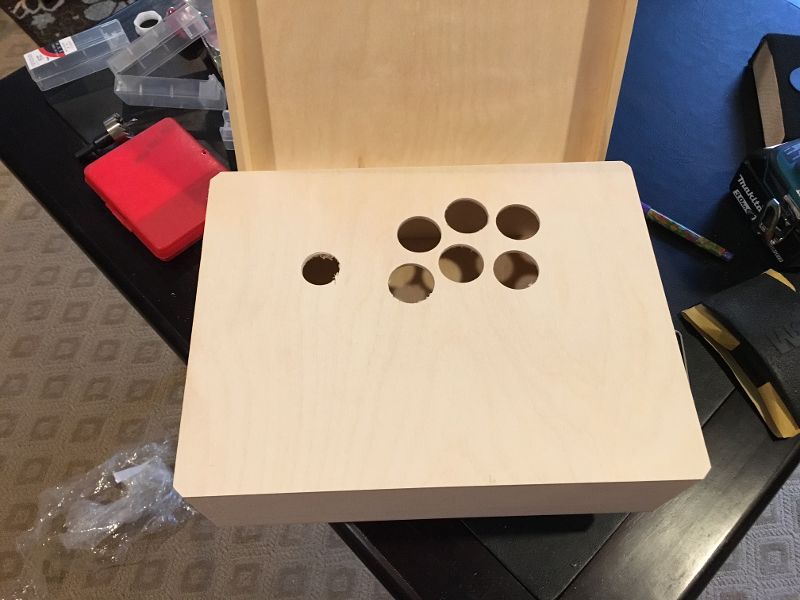
I got all the parts off amazon. The wood box was two for $28 and I was worried it would be too small or too flimsy. It isn’t, so that’s good news. I had to buy some drill bits, which added to the expense, but I got cheap buttons and a cheap usb card. So all in all the thing probably cost me $50.
11 Likes
I always find it interesting to see projects like this. Did you find the overall process to be difficult?
1 Like
That’s pretty cool. And hey, you could also do something along the lines of sticking that Raspberry Pi you got recently in the thing somehow and hook it up so that it’s its own plug-n-play device.
Whatever the case, that’s pretty neat.
Not at all. The hardest part was finding a suitable box online and taking the plunge. I’ve been ordering all this stuff online while I was out of town. I got home this morning, and even though I’m jet lagged as heck I’ve put it all together today. If you have the drill bits to drill the holes, then it’s really just a couple hours of work. If I paint it that will probably be the hardest part.
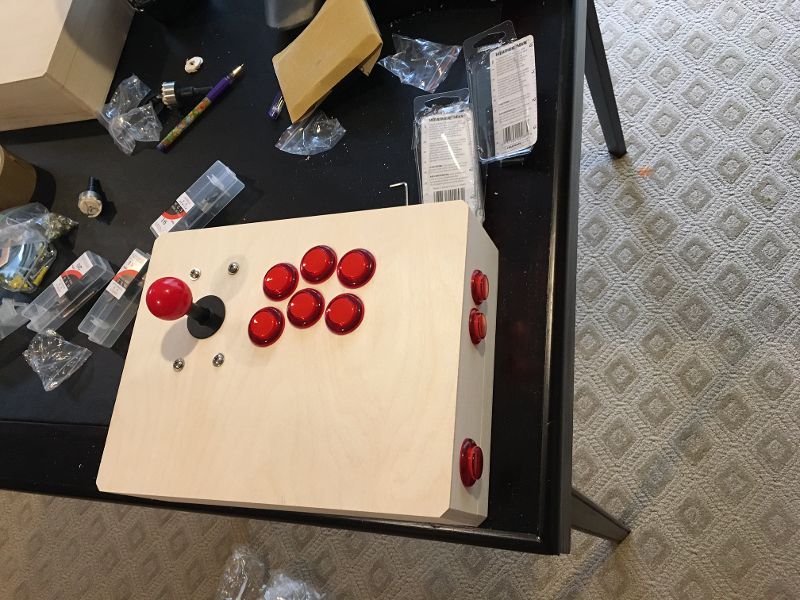
That was actually my original intention, although I’m not sure if I will do that now. On a whim, I stuck the last two buttons on the sides like flippers, but that actually makes the placement of the USB controller board a bit awkward. I’m not sure if I want to jam the pi in there with it. Although there is room, it would just be a bit messier than I like things to be. The other issue is that unlike usb cords, HDMI cords are big and heavy and that would have to run out of the box to the TV if I made it an all in one unit. So that’s put a bit of a damper on my enthusiasm for that idea. I do, however, have the stick hooked up to my raspberry pi as we speak. I’m having a heck of a time with one of the emulators that goes bonkers on the usb controller and won’t recognize the buttons. But it works on all the others. Anyway, that’s a different subject.
1 Like
WOW! Super cool! Hey man you should just put a piece a plexi glass over the top with a border frame to screew it in like a TE2. then you can interchange out your art work like TE2!
Thats the one regret of mine is I cant change out my artwork so Im stuck with the same ole Omen. Thats the one thing I love about the TE2 is i can interchange it throughout the 20 print outs I have from KrizmKazm.
Still looks great just wood paneling too!
1 Like
I’d love to see the wood grain kept intact, like maybe you should consider staining the wood and then adding multiple layers of poly.
Paint would be awesome too. The project looks good!
Thanks dude. I’m thinking about just clear coating it. Since I started playing guitar I have developed an appreciation for wood, and although this box isn’t anything special it turns out to look way better than I had anticipated. I’d leave it as is except the wood is pretty soft and I know it will pick up stains from my hands.
That is so cool!
It has a retro yet new feel to it. 
1 Like
Id like to get another Box built or build it myself. The cool thing about the one I use now is that it has 2 things I probably wouldn’t be able to do myself…
- It has a head phone jack input. Unfortunately its the Xbox 1 version that plugs into the bottom of your controller with the bulky attachment head. Works great but Id prefer the newer version with the 1/8 inch jack input. I had to buy Dremel tool to file down the 2 horns that help secure it into the bottom of your controller since the front of the box was not built for the horns. that was a bummer… I was so pissed at Stan for not telling me this when he built it.
- It has a clear bottom and lots of Blue lights emitting from the bottom and through buttons and Ball top joy stick.
If and when I get a new one, it will have to have inter changeable art access. An 1/8 inch headphone jack input. Lights int eh buttons , stick and bottom…and I think it would be cool to have some light areas able to seep through the art work as well. But that’s super technical to pull off.
Oh and a storage compartment that has a wall to protect anything from touching the wires and components. Mine has a door for storage but nothing blocking the components.
I really wish I could go back and time and have all those issues taken care of before Stan completed it.
Owell, you live and learn I guess.
1 Like
Alright, I finished this up yesterday. (EDIT: Heeding the advice of @SnuggleGator) I went with a chestnut stain for the outside and a natural stain for the top. My brother talked me into doing a sort of “sunburst” effect like on a guitar on top. Covered it in about a million coats of lacquer. It doesn’t look professional, but I think it looks pretty good. I think the front panel in particular came out well. I put felt on the bottom so it doesn’t scratch tables or laps. Functions pretty well, although I may someday upgrade the joystick.
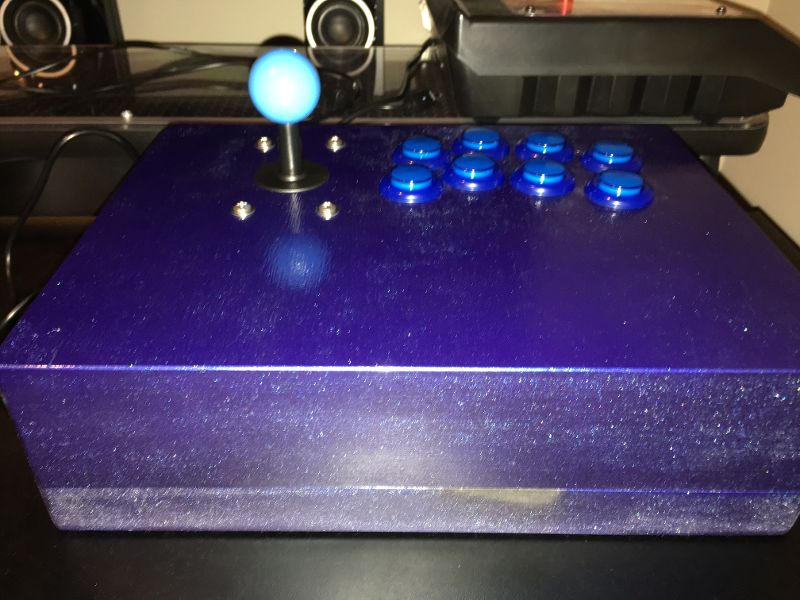
Did another one with my brother, which we decided to paint metallic blue. He’s not as happy with it, but it looks really good with the LED lights lit up. We organized the inside of his box to fit the whole retropie setup so it can be a self contained retro gaming unit.
5 Likes
Ohhh I like it! The blue one looks like mine is some ways. Excellent job!
1 Like